


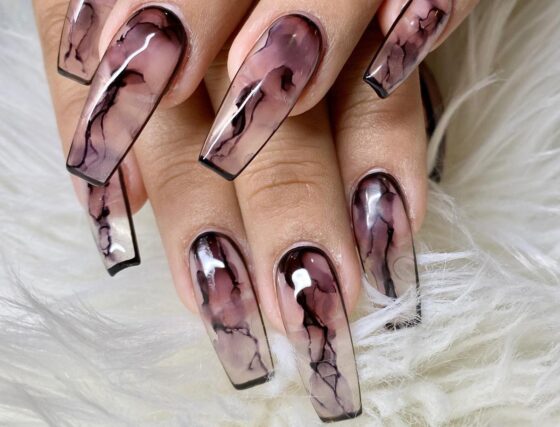


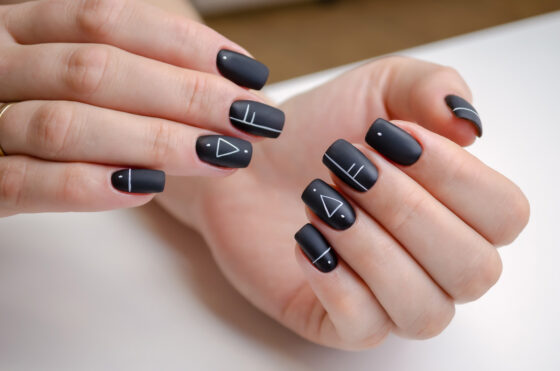


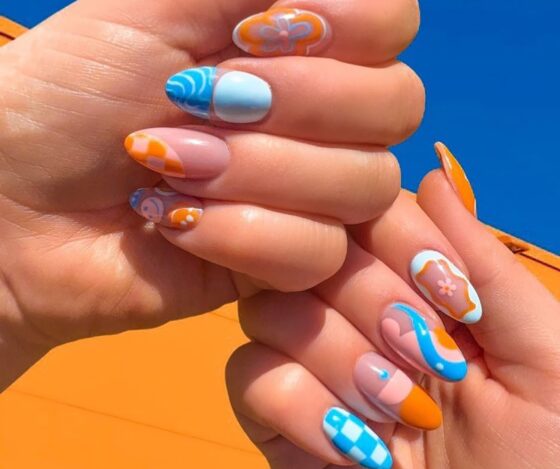

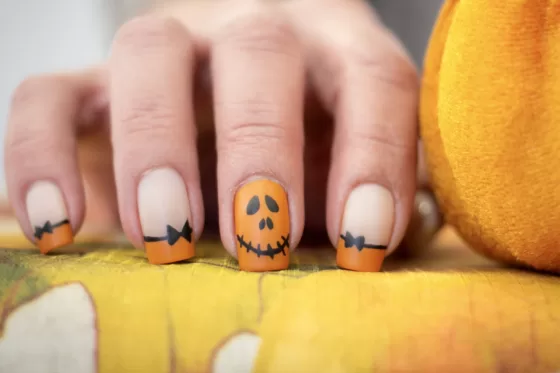


The possibilities are endless when it comes to glitter ombre nails styles. And since glitter seems to be making a shining comeback, we can have our nostalgia and wear it too! Glitter has a timeless, playful charm reminiscent of childhood. But when glitter is paired with a cool ombre nail design we can see its versatility. So, we have put together some of the neatest glitter ombre nail styles and designs the internet offers.
Ombre Nails with Glitter

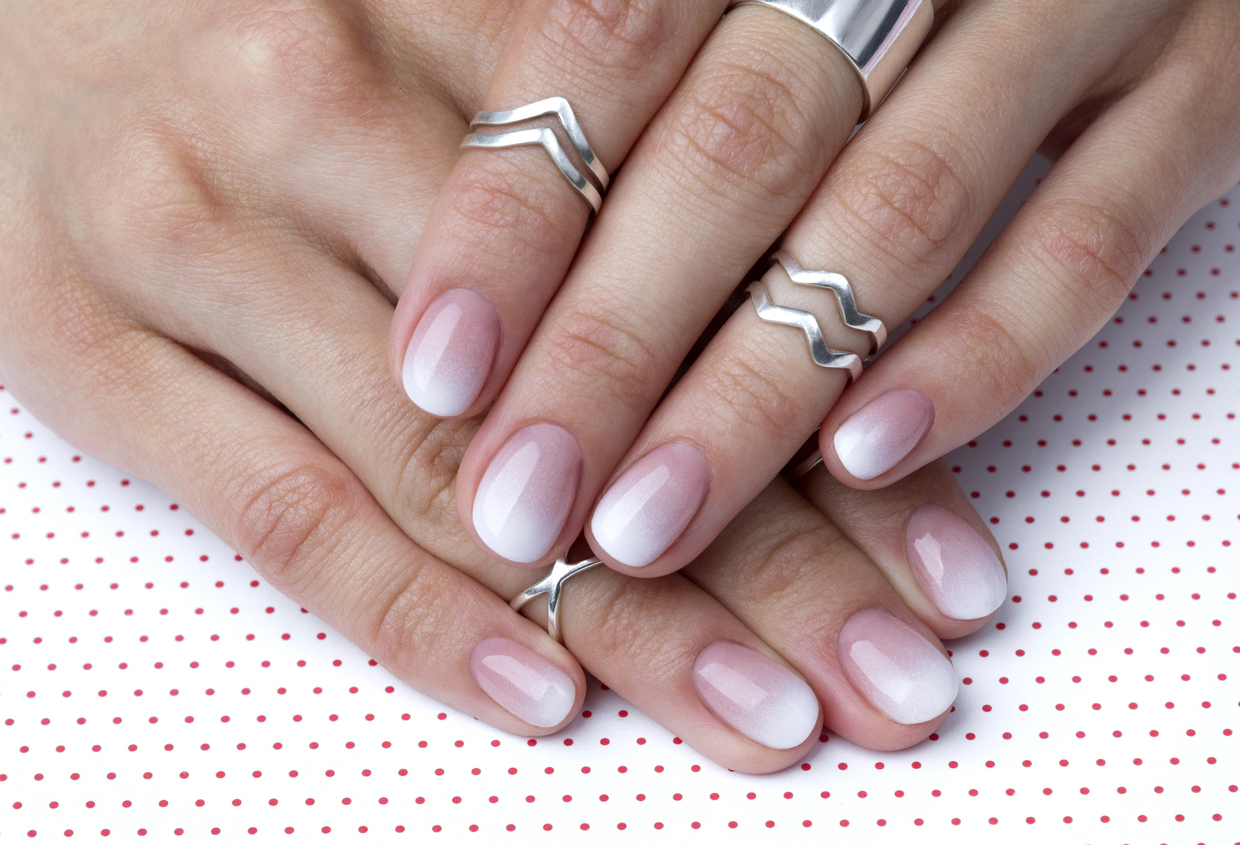
An ombre nail design features the merging of two colors, shades, or textures. The popular style blurs two or more elements to create the ombre effect. But unlike mixing two colors to form a new color, an ombre design fades one color into the other seamlessly. One color should transition into the other, gradually creating something more like a gradient effect.
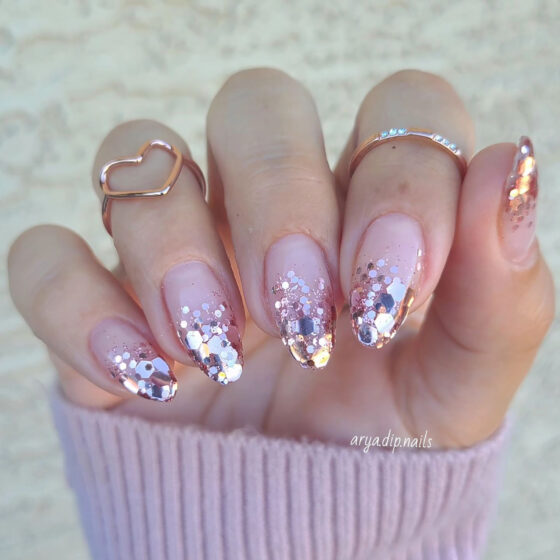
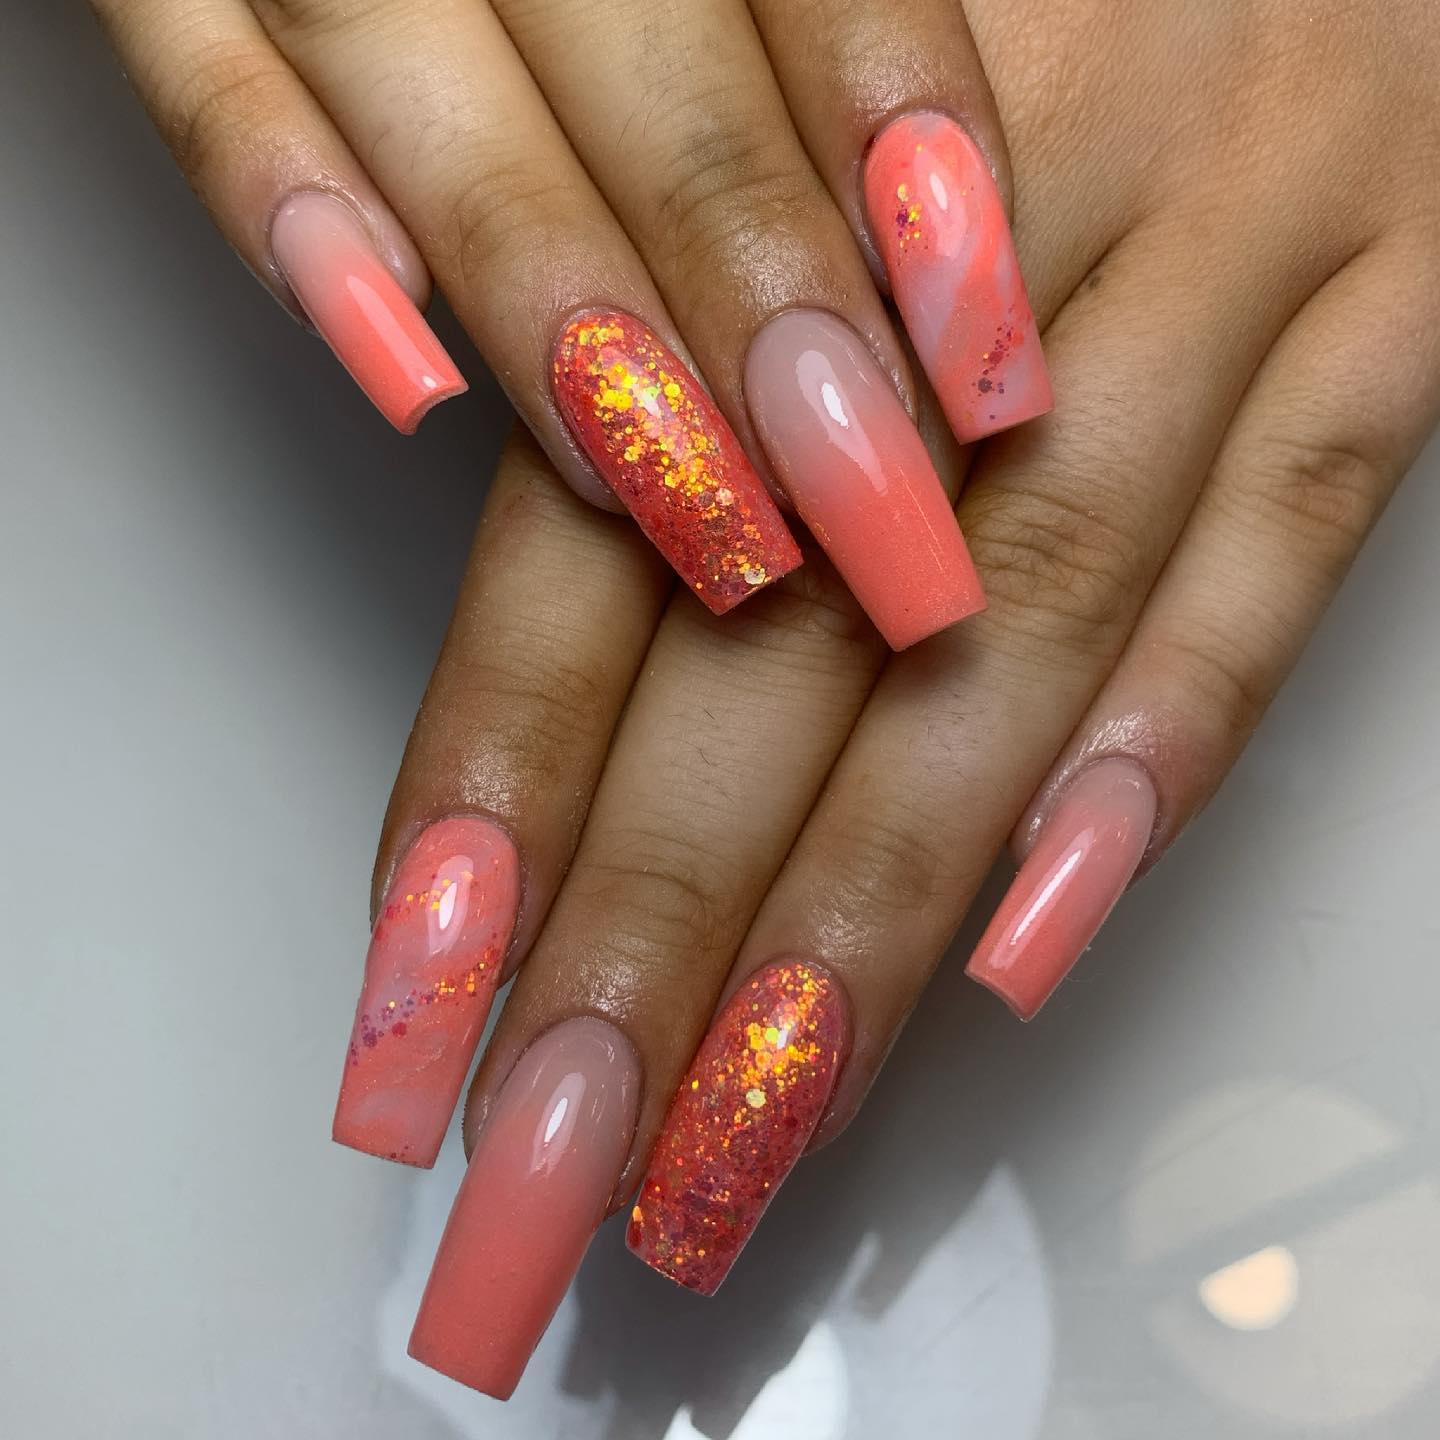
The hallmark of glitter ombre nails is the absence of a sharp line or stark contrast between the polish and the glitter. Instead, the technique consists of gradually blending and fading the glitter into the polish.
Ombre glitter nails are created by layering loose glitter or glitter polish across the nail bed either from the tip of the nail down to the cuticle or from the cuticle up to the tip, then fading out gradually. You can use equal parts polish and glitter to create the effect.
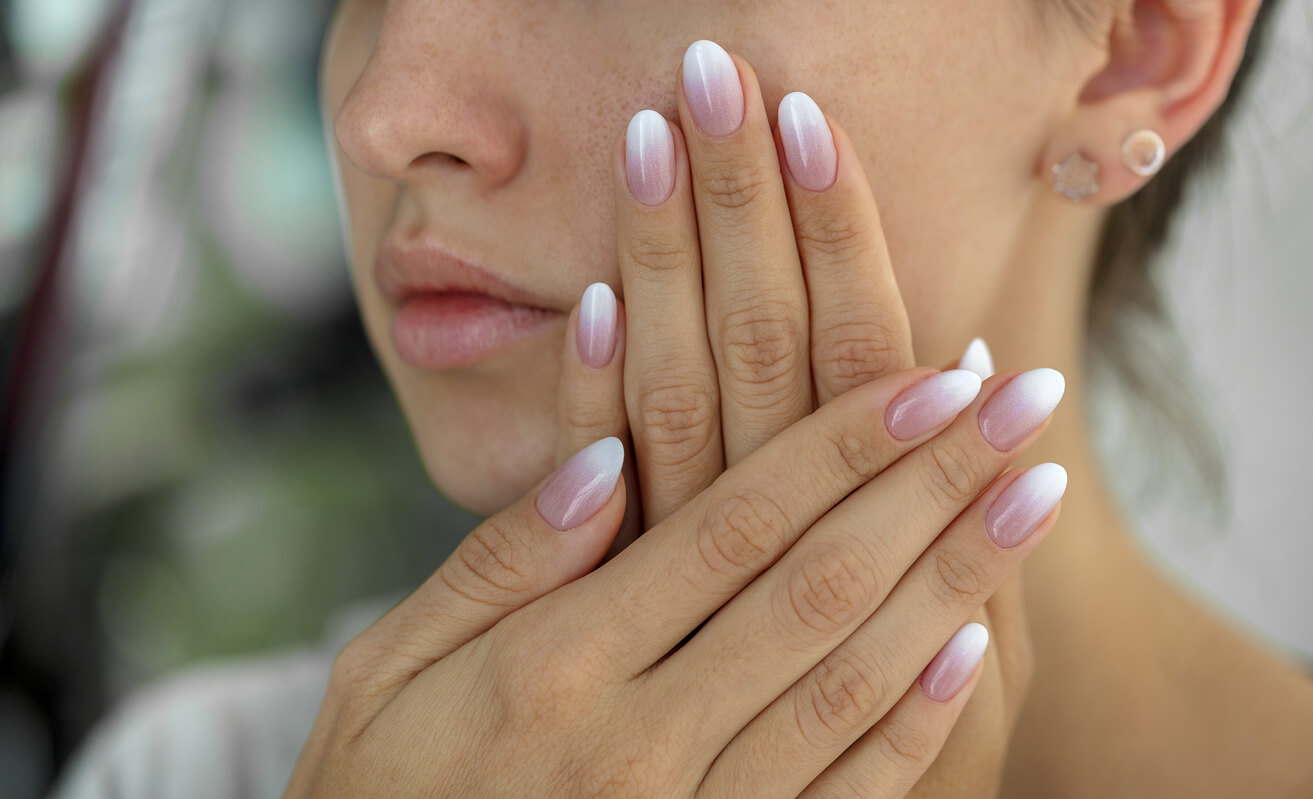
Ombre designs aren’t limited to a specific color or pattern. So you can experiment with mixing and matching shapes, colors, patterns, and textures. Or, you can combine a modern ombre look with a classic nail design.
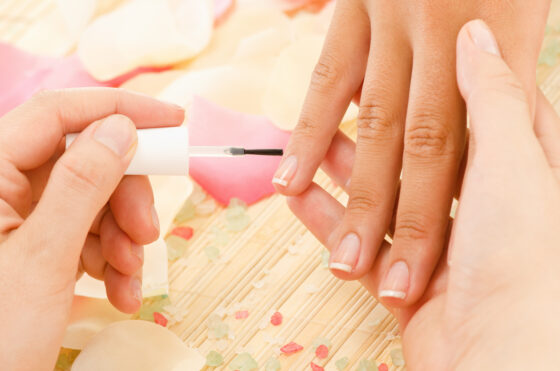
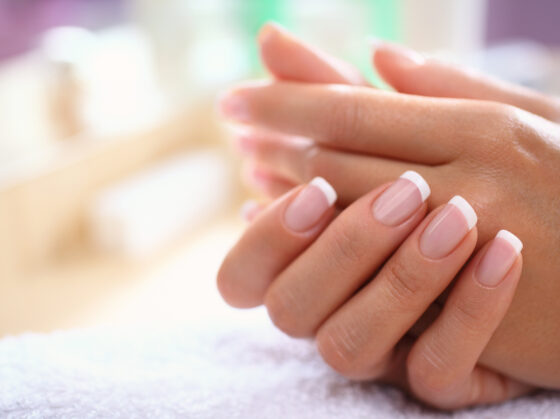
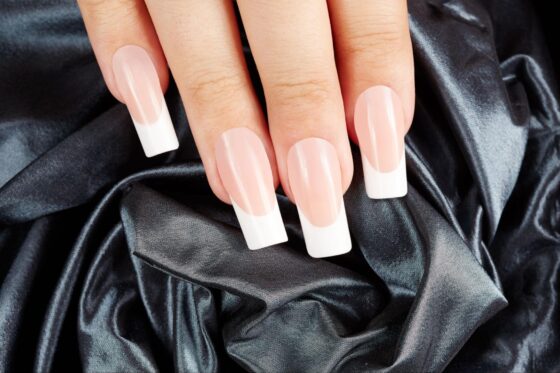
French Ombre Nails with Glitter

The French ombre is a spin-off of the classic French manicure, or French tip manicure, which highlights bright, white-painted nail tips against a base, often in beige, nude, or light pink. While usually done on natural nails, the technique can be found on plastic nail extensions and acrylics.
French Ombre Gel Nails with Glitter

Normally, it isn’t necessary to use plastic nail tips when using gel extensions or gel polish. Gel extensions may be formed into any nail shape desired—no plastic nail tips required! And because the gel is lighter than acrylics, your nails feel much lighter, making them comfortable to wear. Also, because of the material, gel nails are more flexible (so less breakage, yay!) and are less damaging when removed, as long as it’s done..
Gel polish is painted directly onto the nail plate (top of the nail), just like regular nail polish. However, unlike traditional nail polish, gel nails need UV light exposure to initially harden. What’s great, though, is gel cures fast, usually within about 30-120 seconds.
You can create french ombre gel nails with glitter by using gel nail polish and a glitter polish top coat to get the glitter effect. The goal is to create an evenly blended coat that transitions into a pure white tip.

What You Need For Gel French Glitter Ombre Nails
- UV or LED lamp
- Whilte gel polish
- Gel base coat
- Light pink gel polish
- Clear topcoat with glitter
- Sponge
Step-By-Step Guide:
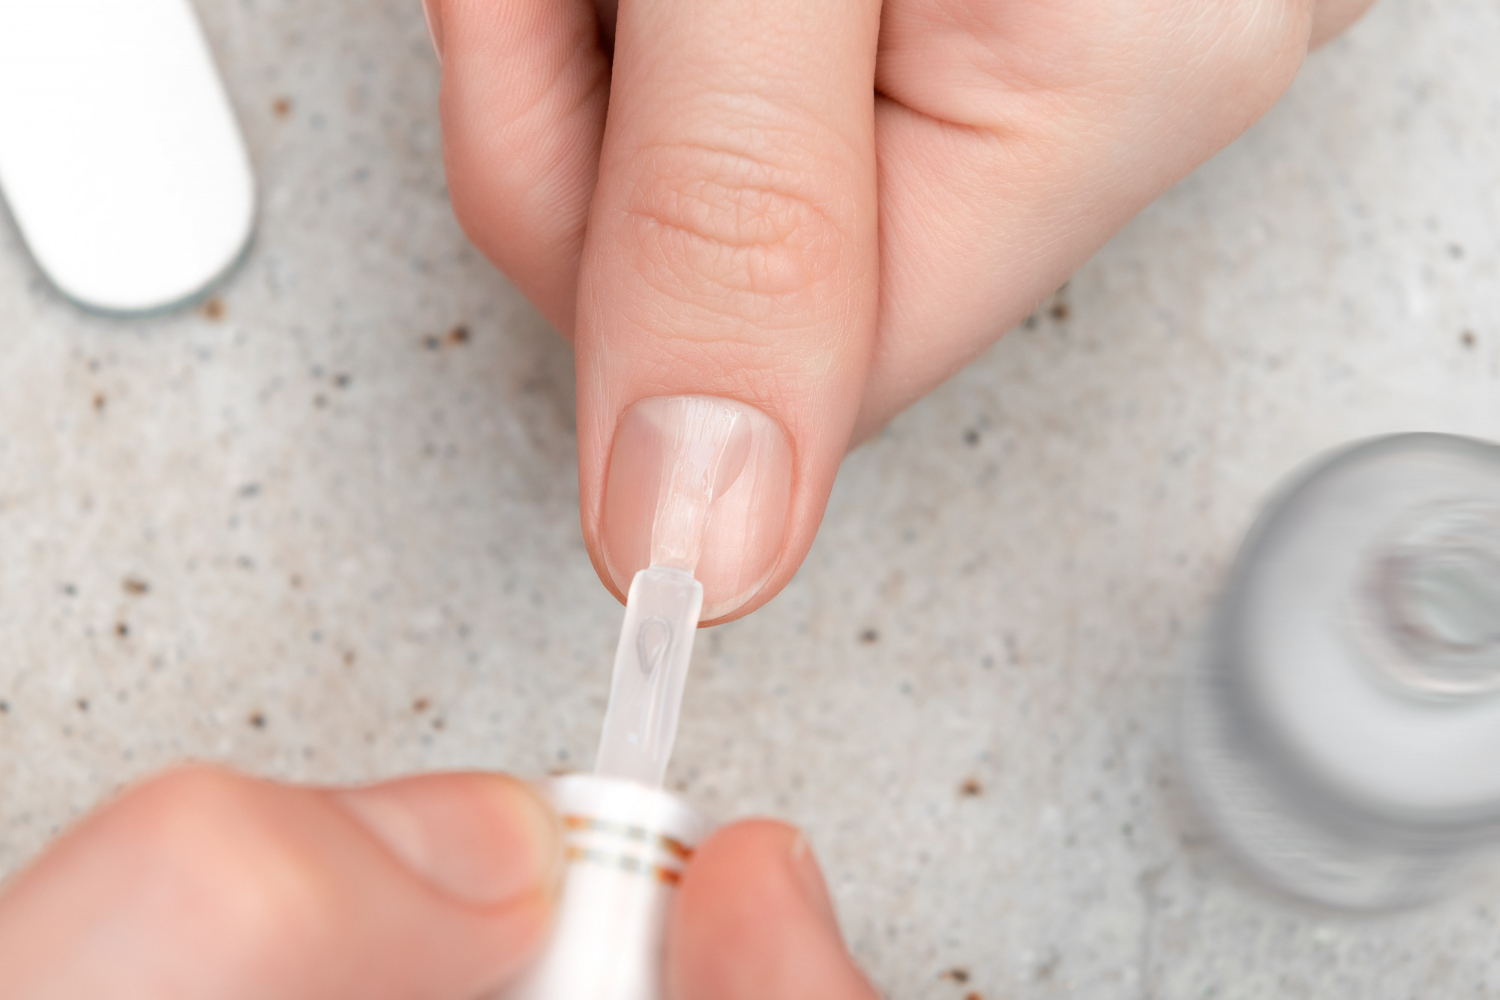
- After cleaning your nails and taking care to minimize moisture, apply a gel base coat. Let dry under a UV or LED lamp such as [ex].
- Once dry, apply two coats of sheer light pink gel polish. Make sure to let the first coat dry before applying the second coat.
- Once dry, apply two coats of sheer light pink gel polish. Make sure to let the first coat dry before applying the second coat.
- Grab a small sponge and apply a bit of white gel polish to the end.
- To create the white tips, use the sponge to tap the edges of your nails. You should end up with a strip of white gel polish across the ends of each nail.
- Gently blur, blend, and smooth the line where the white color meets the nail bed using a clean sponge.
- Grab another clean piece of sponge and add the light pink gel polish to one of the ends, followed by a small strip of white polish right underneath the light pink polish.
- Tap each nail with the sponge moving it very slightly in an up and down blending motion to smooth any sharp lines where colors meet.
- You can finish the design by applying a clear top coat.
Gel nails have some perk, too, including:
- Durability
- Less chipping
- Flexible
- Natural-looking
- Some options use safer chemicals
- Less damaging
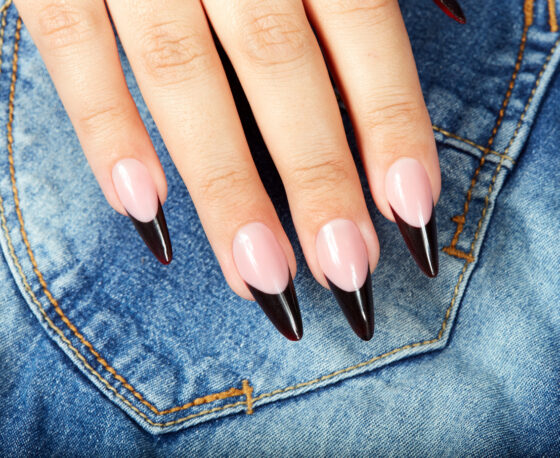
French Fade Nails with Glitter

French fade nails are sometimes used interchangeably with French ombre nails. Typically, a french fade is another name for French ombre and uses the traditional light pink hue at the top, which blends in seamlessly with the bright white tip.
Short French Ombre Nails with Glitter

Whether you have short nails or prefer to go short when you visit your manicurist, french glitter ombre nails can look very pretty and natural.
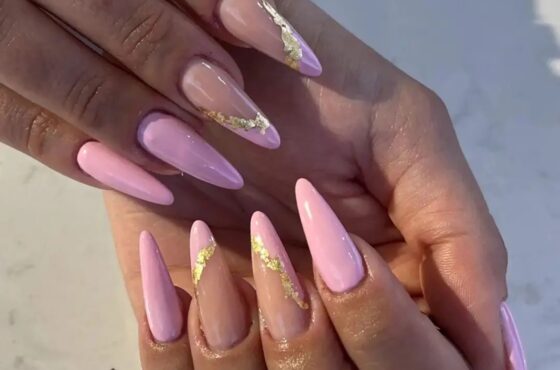
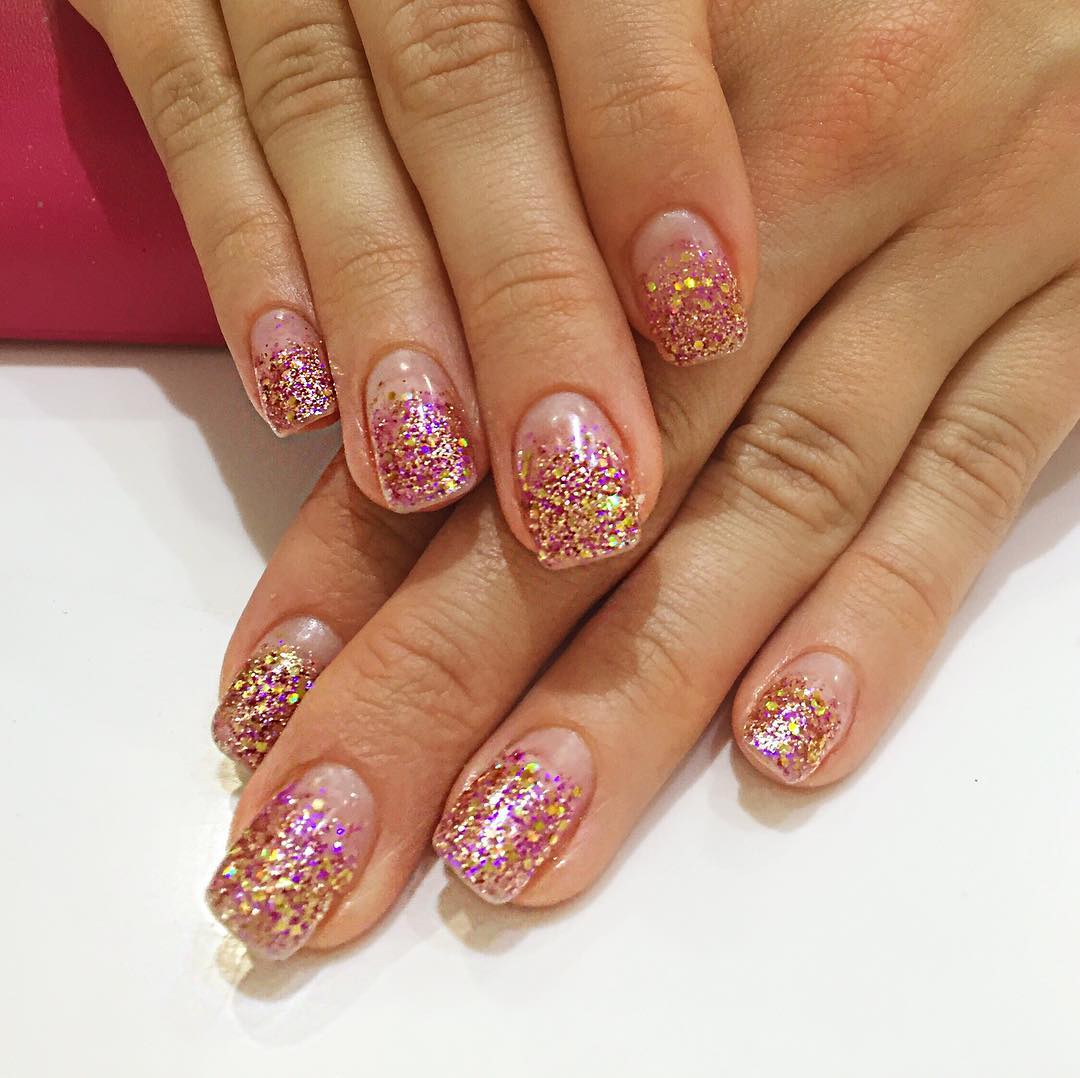
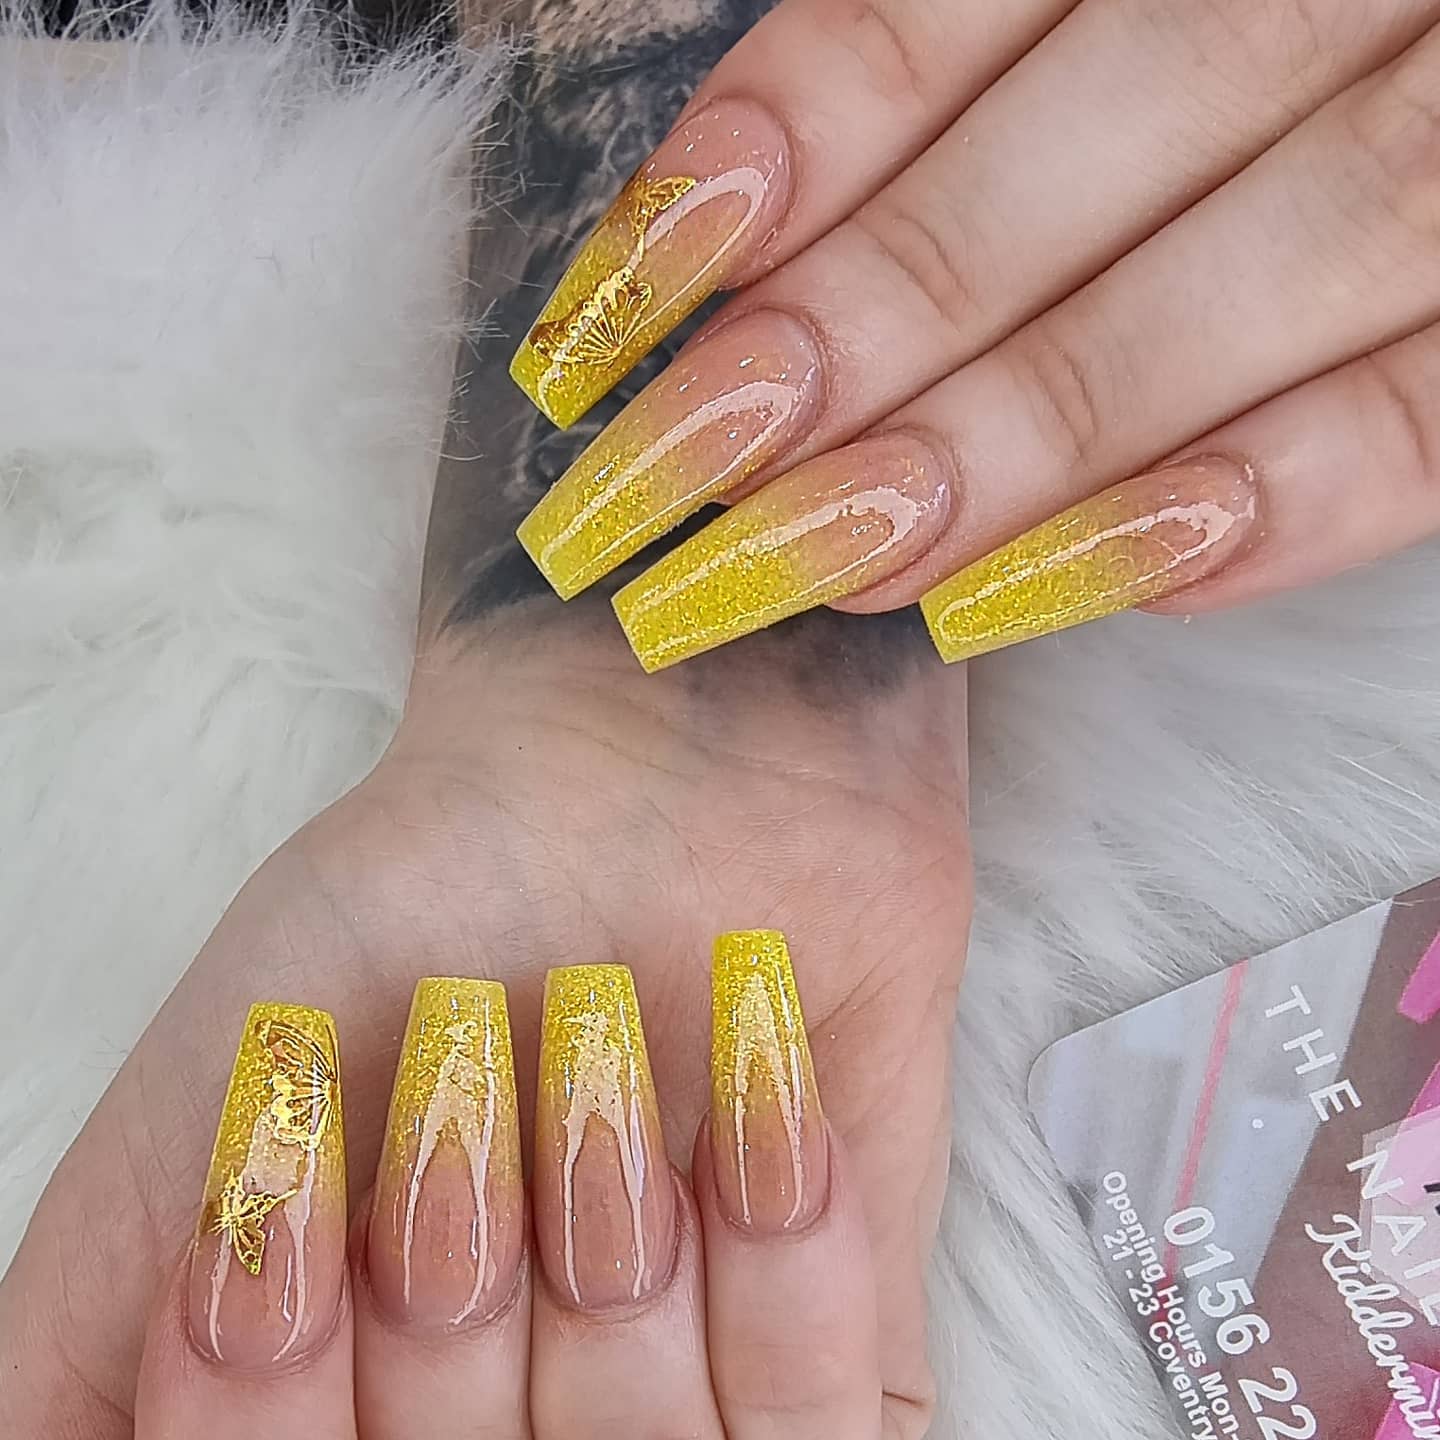
French Ombre Nails with Gold Glitter

One cool thing about gel nails is their versatility. This means you don’t need polish to achieve a classy look like a gold glitter French ombre design. The gold stripes give these nails a simple touch that looks feminine and chic. Gel press-on nails are easy to apply, and hold surprisingly well for at least a week. They feel comfortable and look natural. Best of all, you can clip and file these press-on glitter ombre nails just like your actual nails.
French Ombre Nails with Silver Glitter
Who says French manicures have to follow the rules? You can take the idea behind the French tip style and add your glitter where the white tip would traditionally go. Bring on French ombre nails with silver glitter for a minimalist style. Plus, it’s incredibly easy to DIY. Just grab the following:
- A clear base coat
- A cool, shimmery silver glitter polish
- A quick-dry top coat
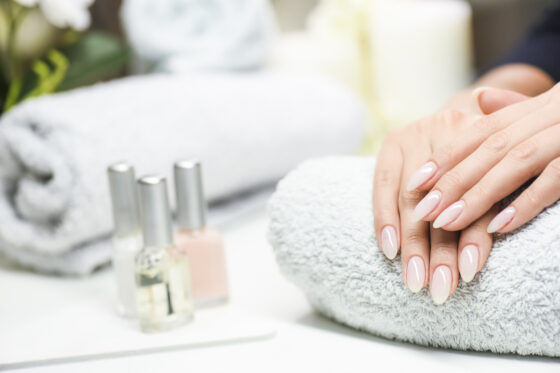
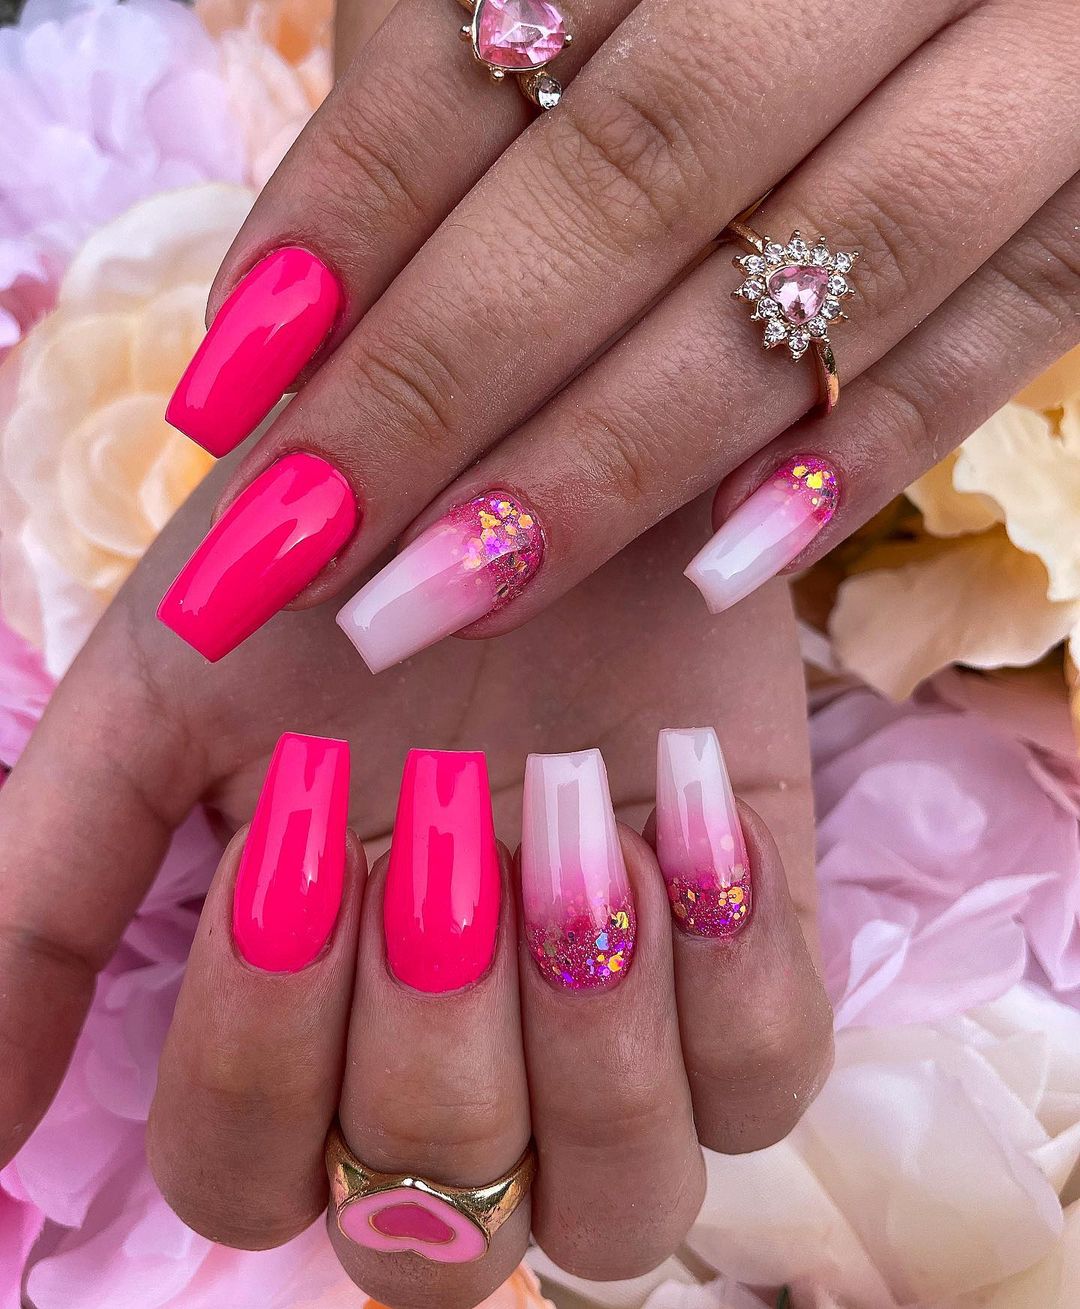
Pink And White Ombre Nails With Glitter

Pink and white refer to one of the most popular choices of nail forms for applying the French tip ombre nail design. Pink refers to the light pink base color, and white refers to the bright white nail extensions used to lengthen a French tip manicure. So while a French manicure refers to the painted design, pink and white refers to the nail canvas, even though they’re often used interchangeably.
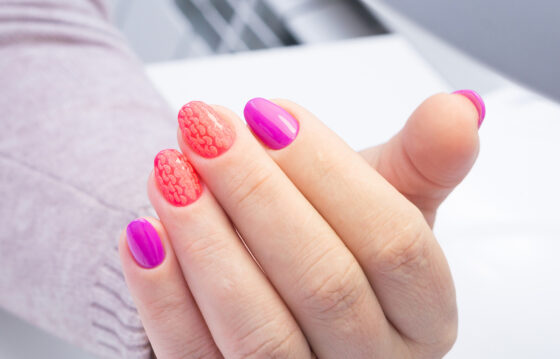
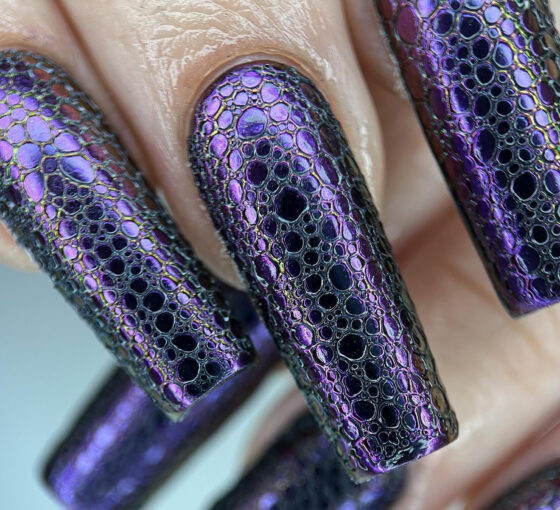
Sparkle Ombre Nails

If you’ve ever been curious, sparkle is synonymous with glitter. However, sparkle also refers to what you want your nails to do, right? So for added intensity, you can use several layers of glitter polish or combine loose glitter underneath a clear coating of super sparkly glitter polish. Use larger pieces of loose glitter to get these brilliant glitter ombre nails to look.
Even More Sparkly Ombre Nails

To get that ultra-glam sparkle, you can try large, flaky nail glitter to shine like a true queen.
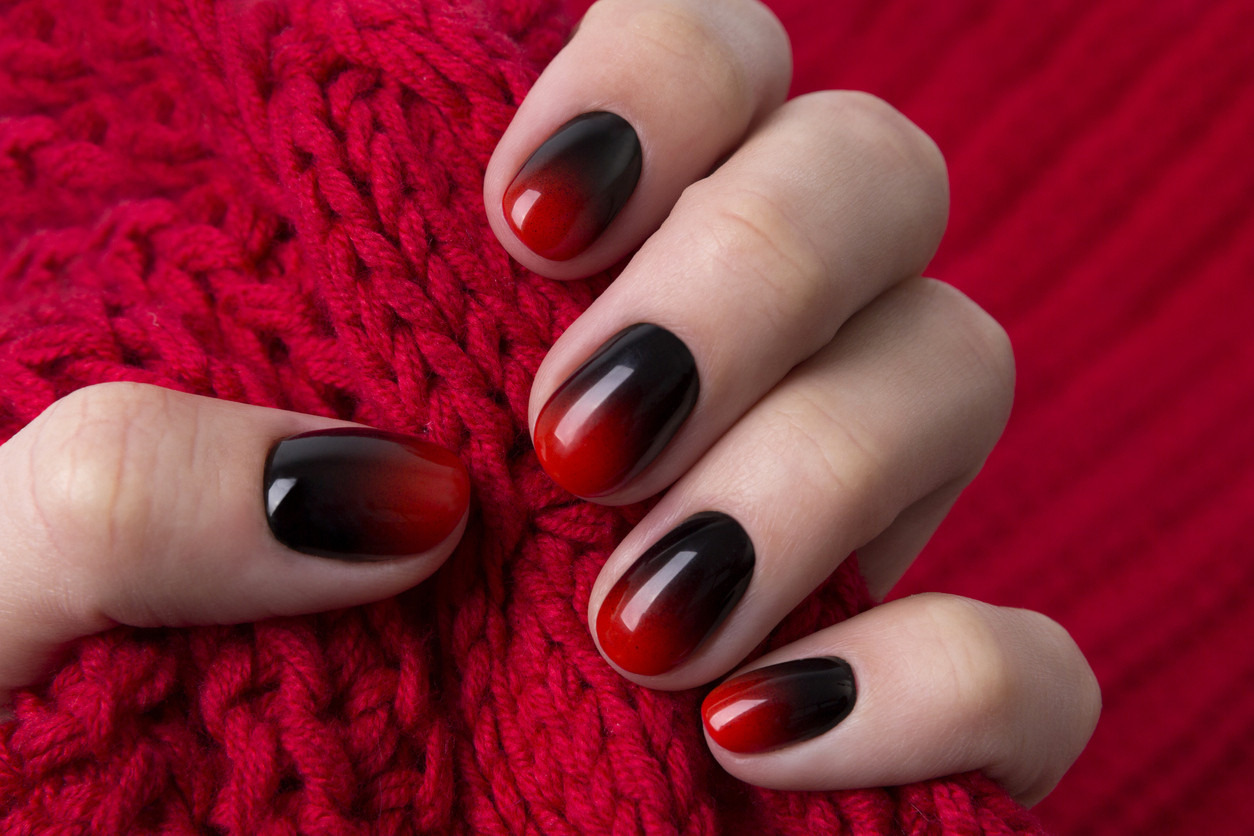
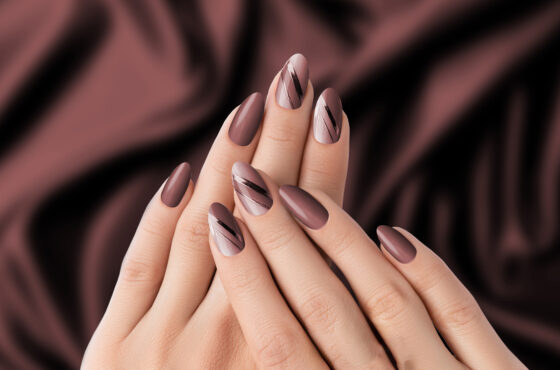
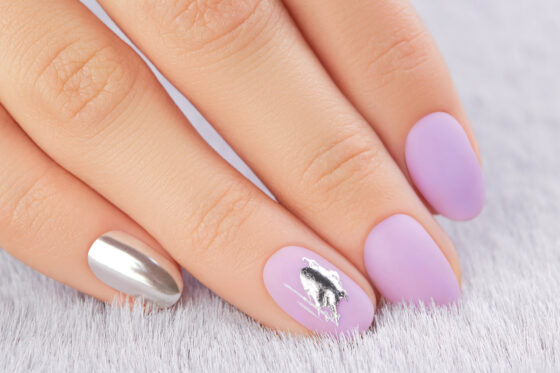
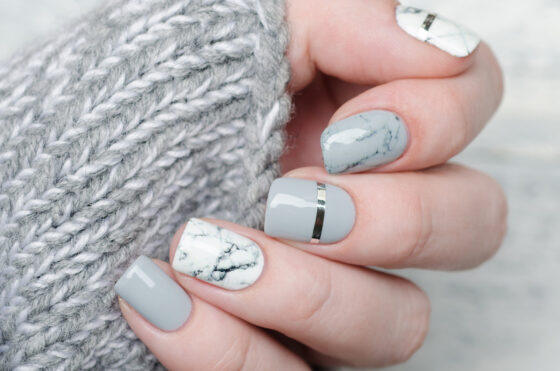
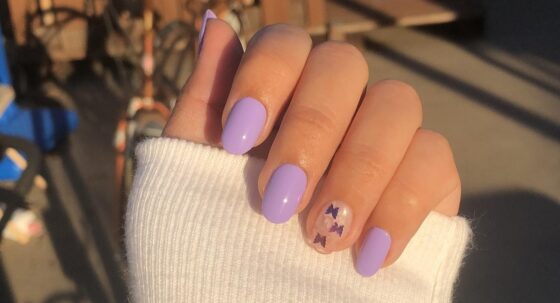
Glitter Two Tone Ombre Nails
Similar to French glitter ombre nails, the idea behind two-tone ombre nail designs is to subtly blend two different colors to get a flawless-looking smooth transition of one color into the other. What’s awesome is that there’s a limitless selection of colors to achieve this look. Why not try blending seasonal colors like this year’s fall hues (see our fall colors below!).
Natural Ombre Nails with Glitter

Go for a natural glitter ombre look without all the fuss of nail extensions or press-on. One way to get super cute natural ombre glitter nails is by using dip-powder.
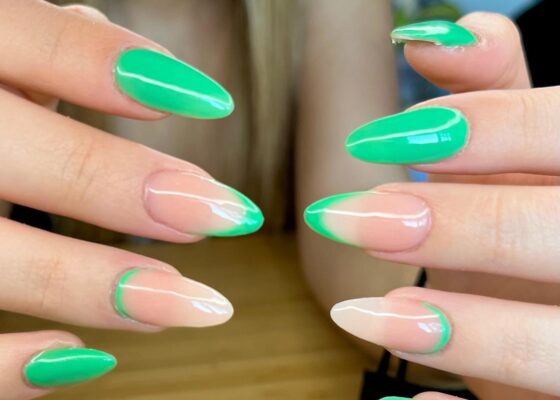
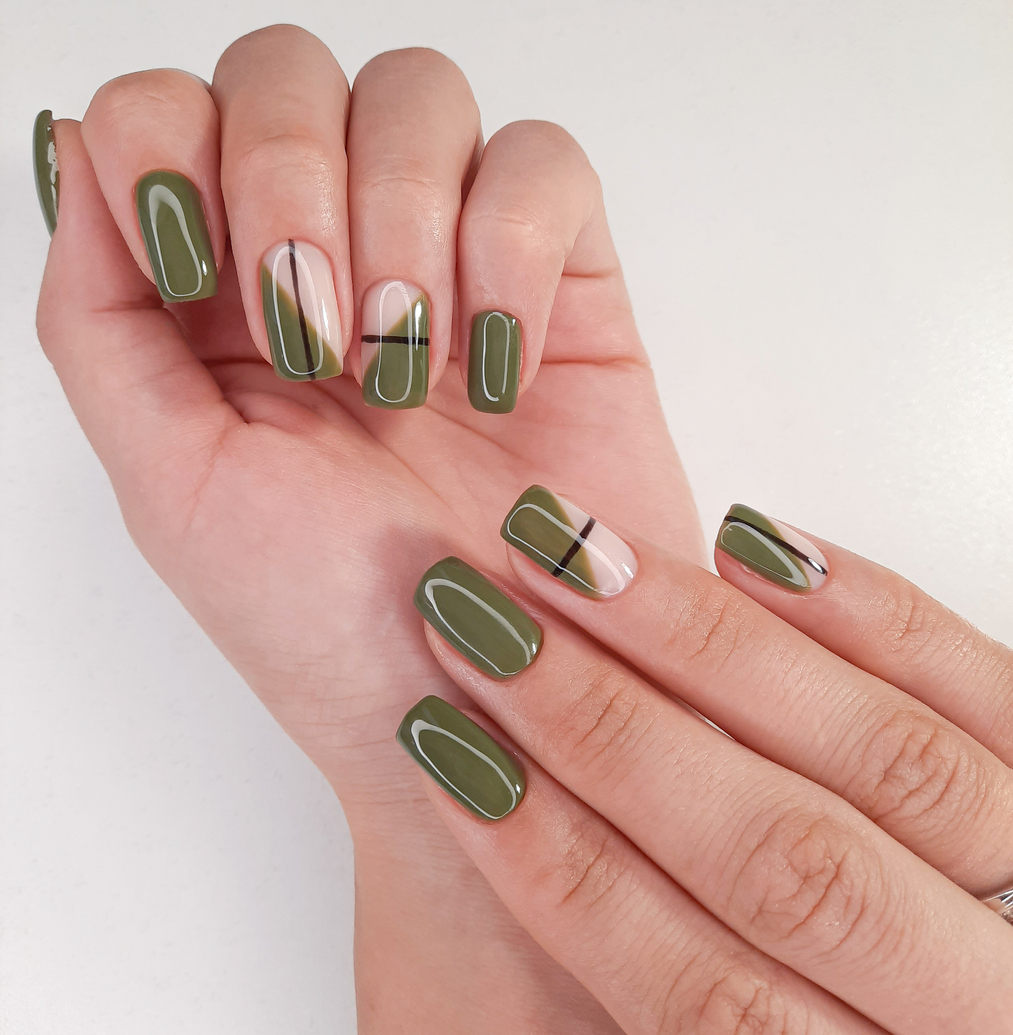
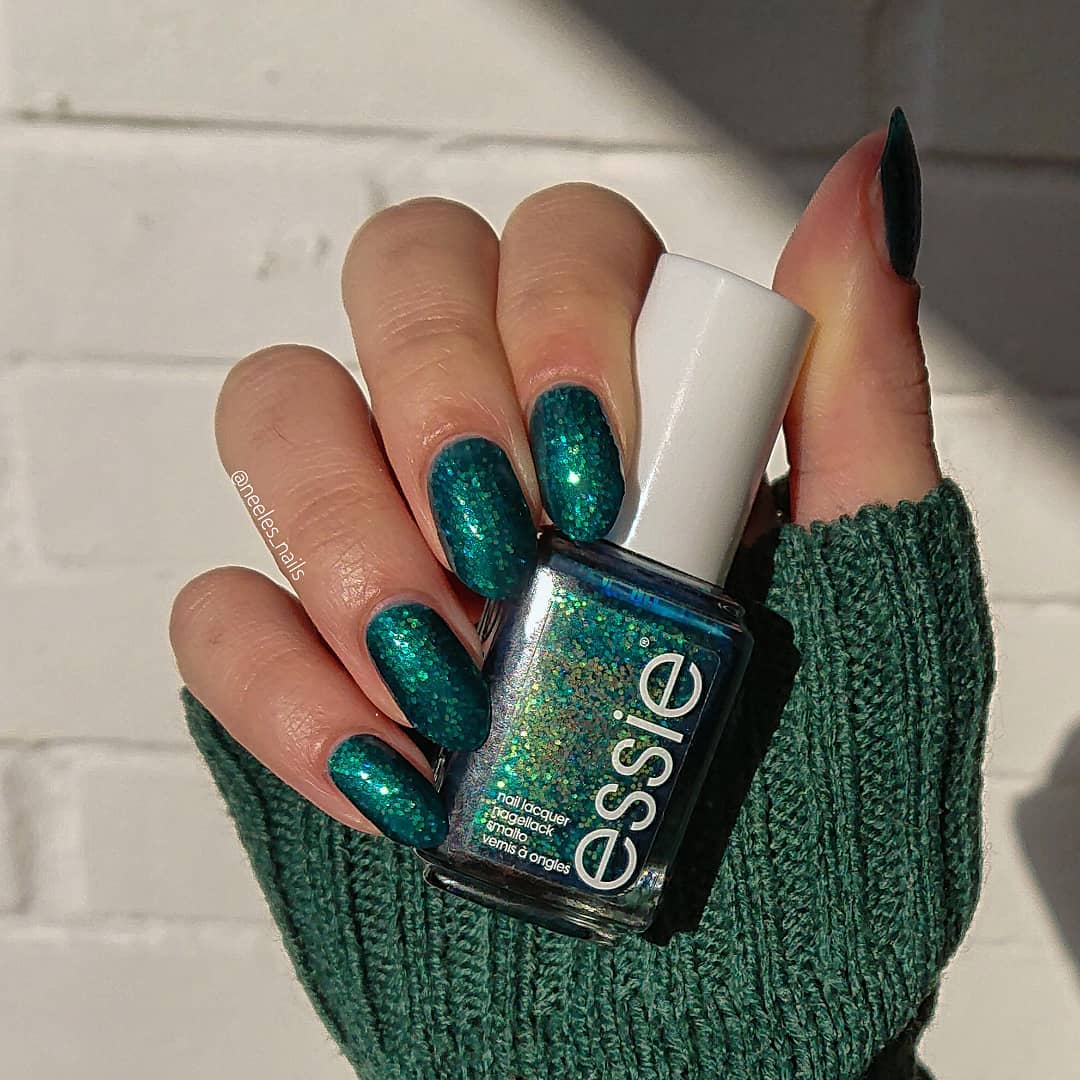
Green Glitter Ombre Nails

Green is one of this year’s fall colors, so go for a green glitter ombre nails hue or try on some green glitter to go on top, perfect for Thanksgiving!
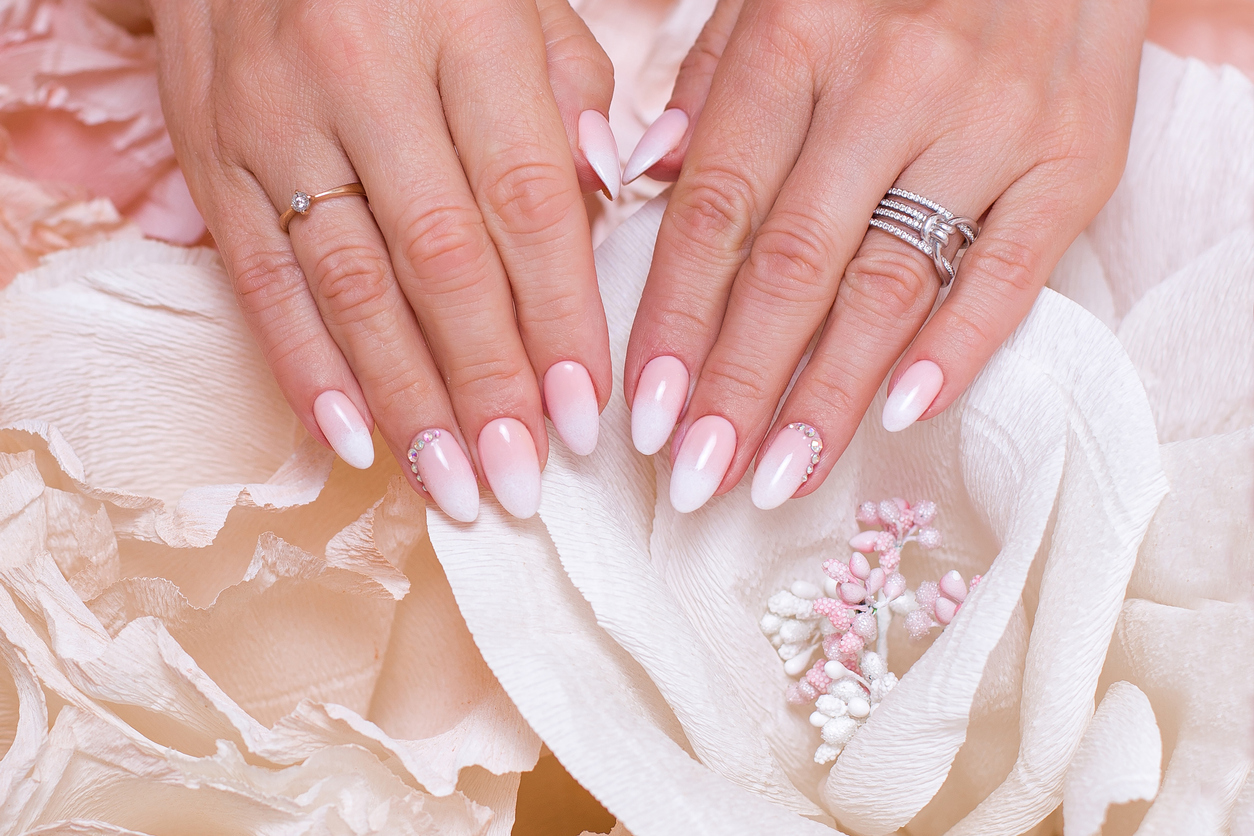
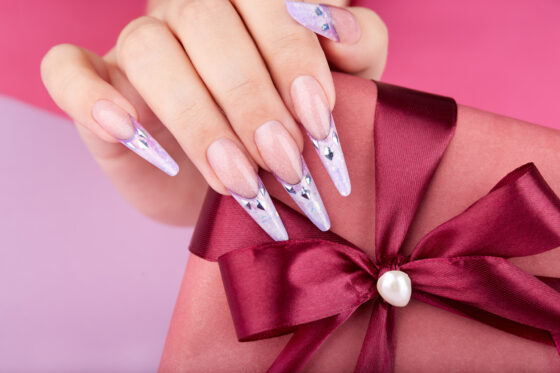
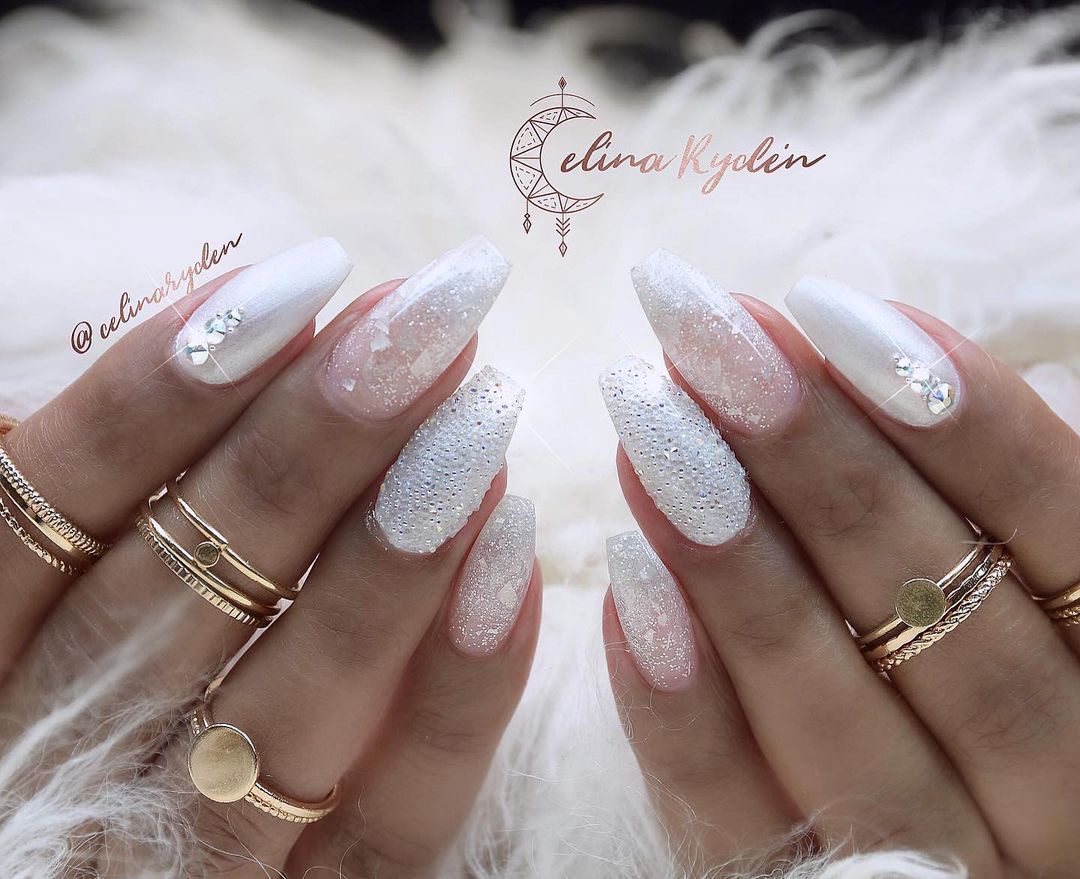
Ombre Nails with Diamonds and Glitter
If diamonds are a girl’s best friend, then indeed rhinestones are a close second! Another way to add some personality to your glitter ombre nails is by adding a few rocks. You can find press-on glitter ombre nails with rhinestones included on the nails, or try press-on rhinestones to add them to yourself. As a tip, it’s best not to add a top coat on top of the diamonds on your nails because it causes them to lose a bit of sparkle. But you can add your top coat and maneuver it around the gemstones to give them a better hold.
Glitter Ombre Gel Nails
You may be aware that gel manicures come in a variety of options. Gel French glitter ombre nails have grown in popularity over the last decade because of the benefits and versatility gel nails offer compared to the stiffer and more traditional acrylic nails. Consumers love gel nails for the accessible design options and because they’re pretty quick and effortless to apply at home.
However, nothing is perfect. According to the American Academy of Dermatology, gel manicures can be tough on your natural nails. It depends on a few things including:
- Manicurist experience and sanitation
- The type of gel used
- Removing nails properly
- UV safety
- How frequently do you use them
If gel nails are used too often or removed improperly, they can cause your natural nails to become brittle and cracked. Without precautions, UV exposure can cause hands to age faster or, albeit rarely, skin cancer. Some chemicals in gel nails are also quite harsh. Still, luckily you can find a safer gel nail polish that is awesome for nails and minimizes the worst of the worst ingredients.
There are a few different types of gel manicures you can choose from.
| Gel Option | Application | Pros | Cons |
| Gel Extensions | Gel extensions are hard gel, typically done at a nail salon. The nails are cured using a UV light and may be built onto a nail form to build length. | Gel extensions feel lightweight and natural compared to acrylic. They are less damaging and are less prone to chipping and breaking. | Gel extensions require UV light to harden, which may cause issues like skin cancer if precautions aren’t taken or if they are worn too frequently. Use sunblock on your hands to minimize the risk. |
| Gel Polish | Gel polish is like regular nail polish you can buy at a store. The gel must be cured under UV or LED light to dry, otherwise, the gel will remain wet. You can buy a kit with everything you need, including the lamp for a DIY manicure from your home. | You can find gel polish nearly everywhere in all sorts of colors. The polish lasts longer than regular nail polish and has a very appealing sheen. | Gel polish is usually impossible to use without a UV or LED lamp and may contain toxic ingredients. It’s a bit more work to remove without a good acetone remover. |
| Shellac | Shellac is often confused with gel polish. However, the two are slightly different. Both gel and shellac require UV light to harden. Gel polish is a colored gel while shellac is a mixture of gel and traditional nail polish. Also, Shellac is the brand name created by the Creative Nail Design (CND) company. | Typically lasts for about 3-4 weeks, whereas regular polish lasts for about a week. | Like gel nail manicures, shellac will expose your hands to more UV light if you use it frequently. |
| Gel Press-ons | Easy application process, you can DIY. Prepare nails by washing hands and cleaning off dirt, oil, and debris. Align the corresponding nails to fit each finger. Pull the sticky tab from the back and press the nail onto your natural nail, starting from the center and then the sides. | You get an array of color, design, and rhinestone options without having, actually to create them on your nails yourself. Or you can find clear nails to add any design or polish you prefer. Easy application. Less expensive than going to a salon. | Nails are meant to hold for only about a week. You have to fit each nail yourself which may be tedious. |
Ombre Nails Glitter Tips

Nail tips are used to add length to short nails and are placed on the tip of the natural nail, underneath gel or acrylic nail products. Gel nail tips can be placed on the entire nail and look like a natural set of nails. In that case, the term nail tip may be somewhat confusing as it may refer to a whole press-on nail.

DIY glitter nail tips:
Use clear nail polish and loose glitter in any color. Dip clear polish into the glitter using a small makeup brush, then paint a thin, single coat on the nail starting midway, moving down to the tip. Let it dry. Then use more of the polish-glitter mixture to paint only the ends of the nails. Try several coats to get the desired thickness. Finish with a top clear coat of nail polish.
Shimmer Ombre Nails

Shimmer nail polish has more subtle and smaller flecks of light-reflecting sparkle. Shimmer polish appears a bit more metallic than glitter, and you’ll typically apply only one coat. Shimmery polish often contains a mineral called Mica, which causes a sheen or subtle sparkle.
Unlike shimmer polish, glitter polish may need two or three coats, depending on your desired intent. Also, glitter isn’t the result of mineral luster but rather small and separate particles of shiny material. Glitter may be fine or bold, but either way, the pieces are separate from the actual polish.
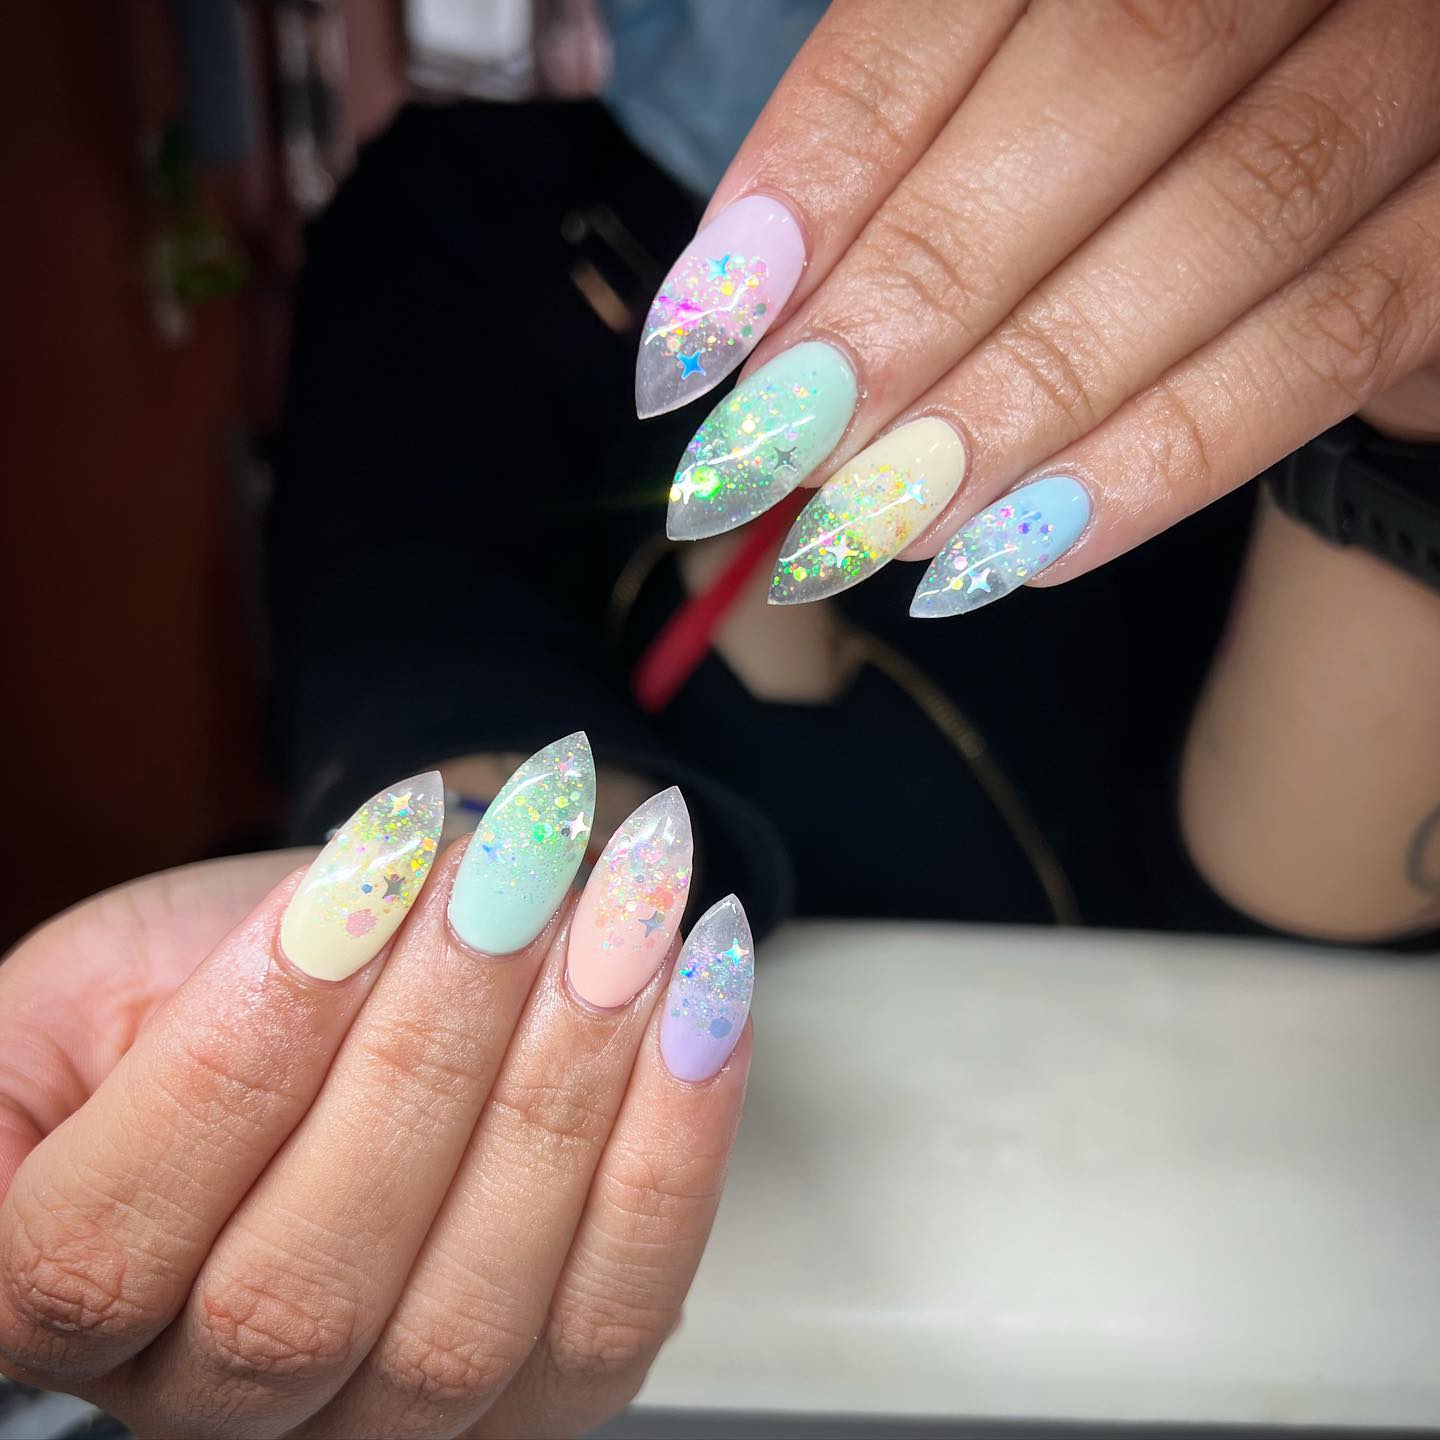
Colorful Glitter Ombre Nails
Have you ever wondered who sets the seasonal color trends? The Pantone Color Institute is a global leader and consulting agency that gathers information worldwide to forecast color trends worldwide. They help companies and brands develop by strategically integrating color theory and its application into the process. Although their strategies dive much deeper than flicking a color wheel for a few spins, we want to know what colors to show off in the fall. Even though all the color stuff is pretty interesting.
Some colors don’t go out of style. Classic colors that transcend seasons and are sure to look beautiful for many years to come include:
- Arctic Wolf: soft white
- Autumn Blonde: creamy pinky, peach
- Polar Night: deep blue
- London Frost: earthy green
- Chiseled Stone: grayish blue
Fall Glitter Ombre Nails

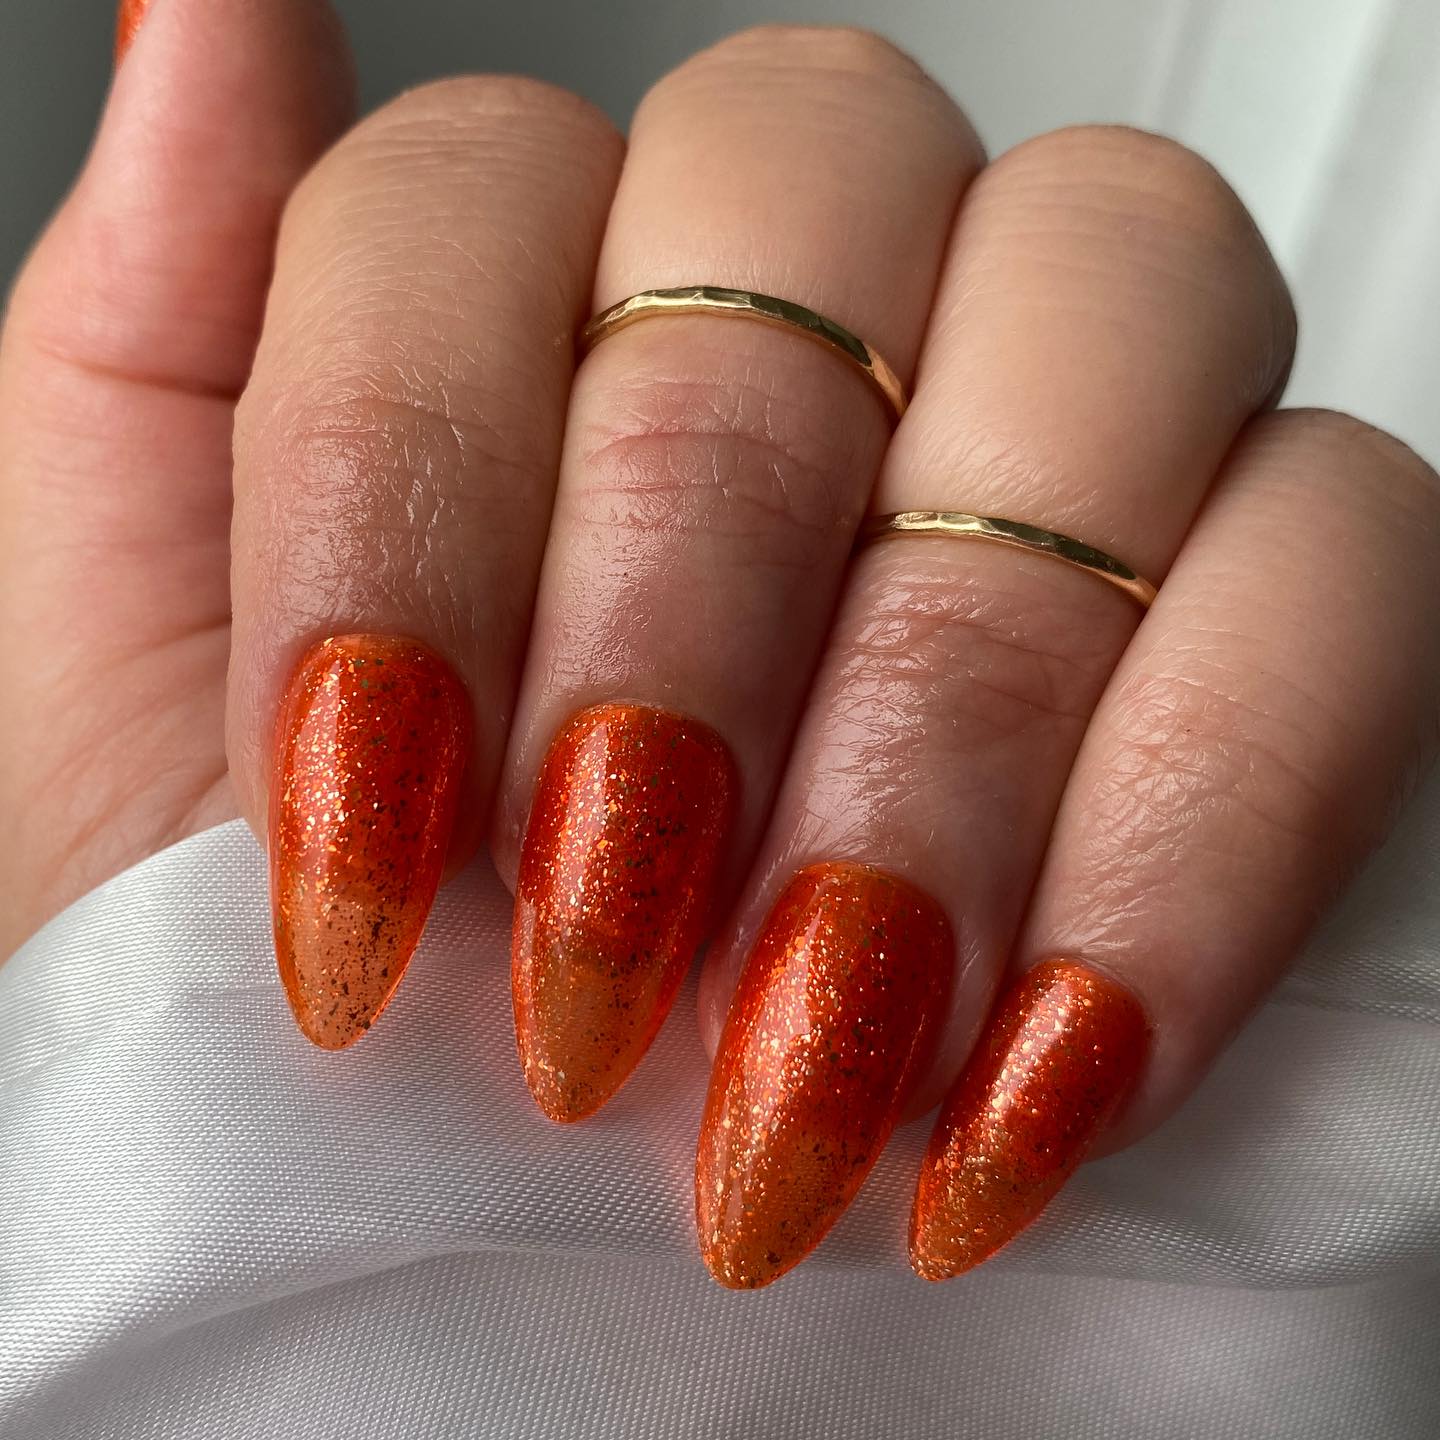
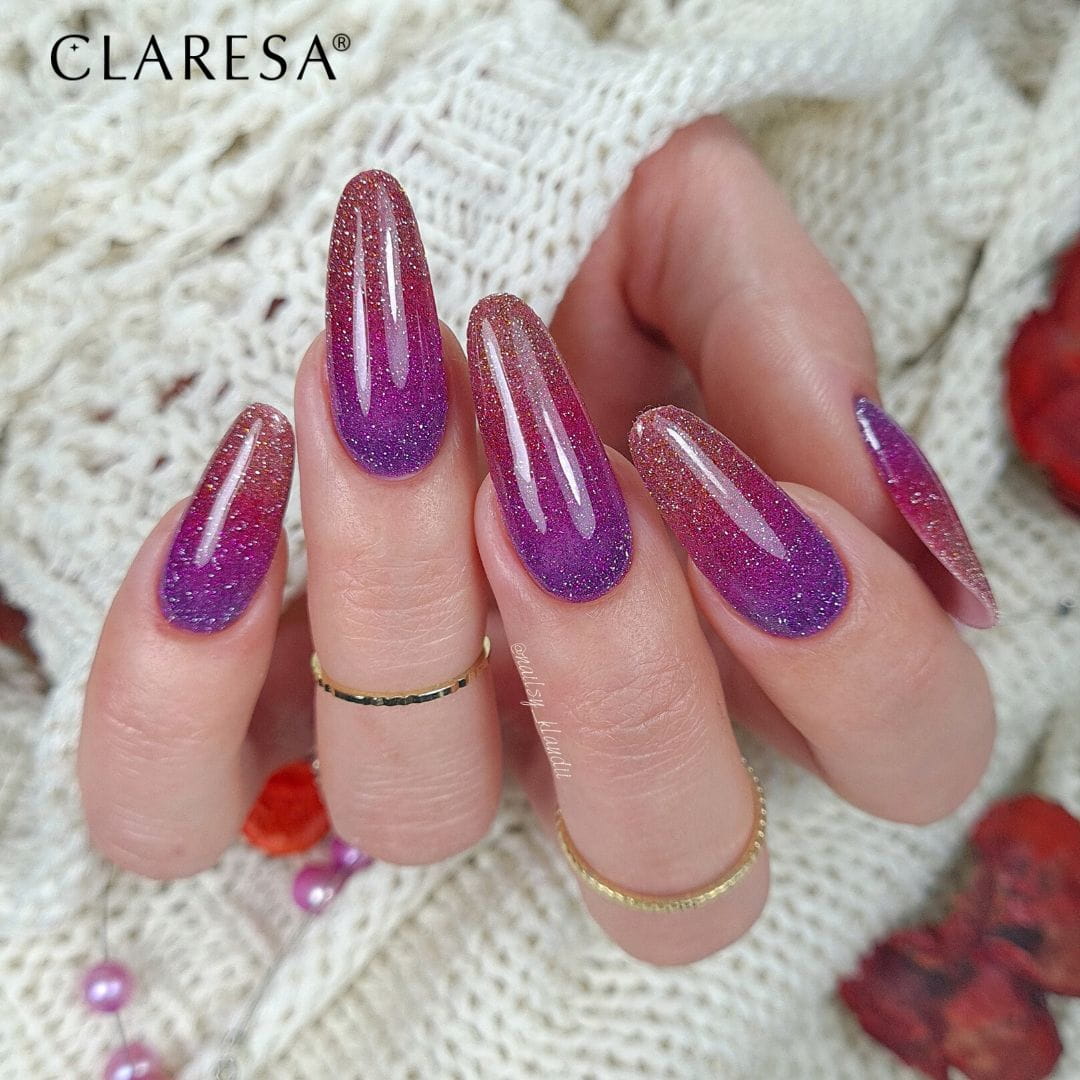
So what colors will your glitter-ombre nails wear for fall? According to the Pantone color trend report, we can plan for a fall season full of orangey colors with dabs of pinky-violets, greens, and light reds.
Check out this year’s official fall colors below.
This season, expect lots of contrasting hues. According to color experts at Pantone, colors this fall represent our co-existing, often contradictory nature and desires. Fall nail colors may reflect our craving for both calm and rest but also high energy and excitement. According to Pantone, these colors mirror today’s hybrid lifestyles.
Suddenly, the growing ombre-glitter design trend makes a lot of sense when considering the two elements merging together. The playful inner child and responsible adult in us are all trying to coexist, perhaps?
Either way, the combination just works.
| Fall Colors | Fall Color Nail Design |
| Lava Falls | |
| Samoan Sun | |
| Orange Tiger | |
| Rose Violet | |
| Amazon |

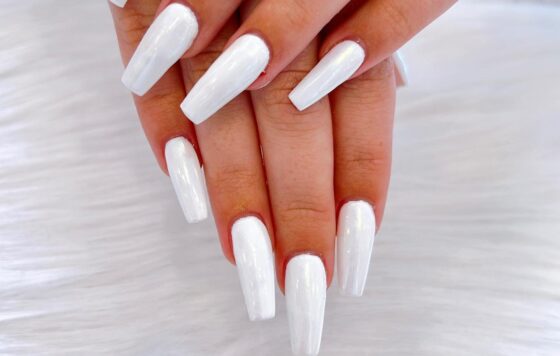
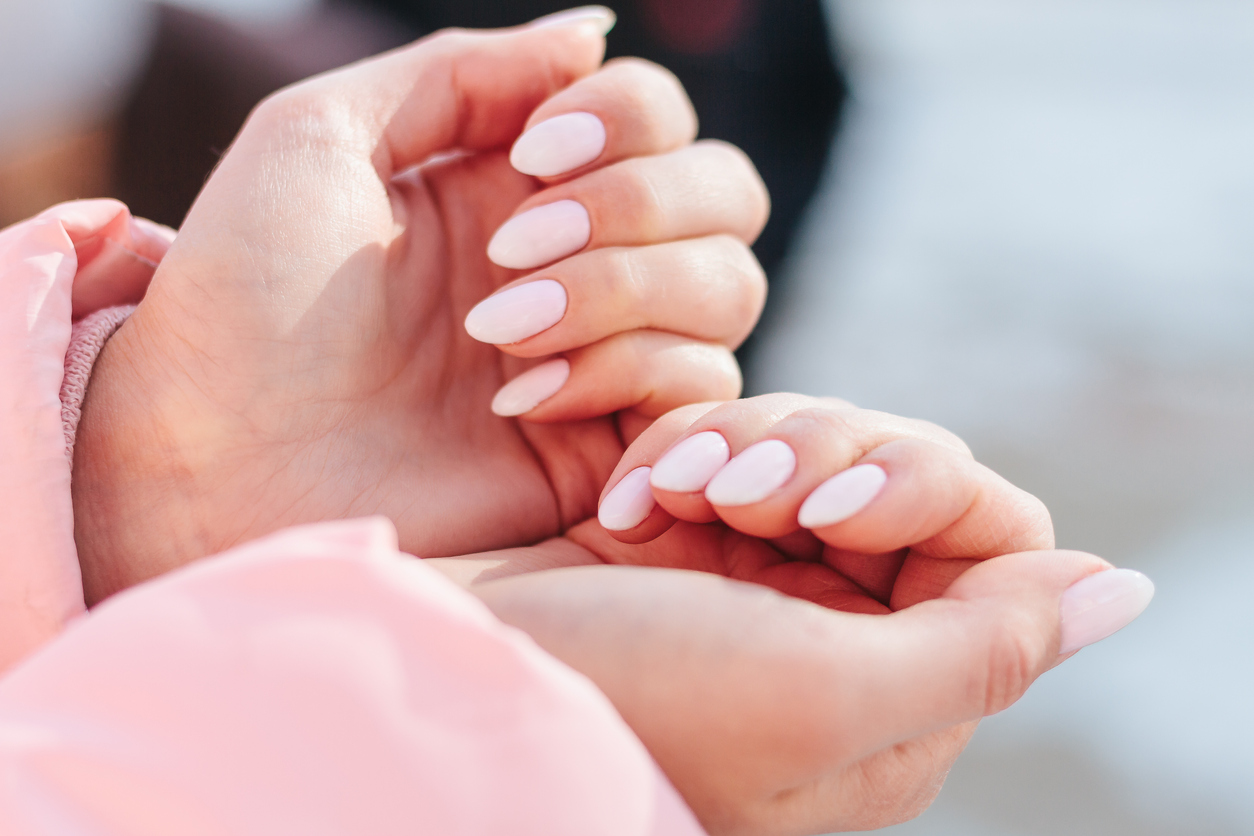
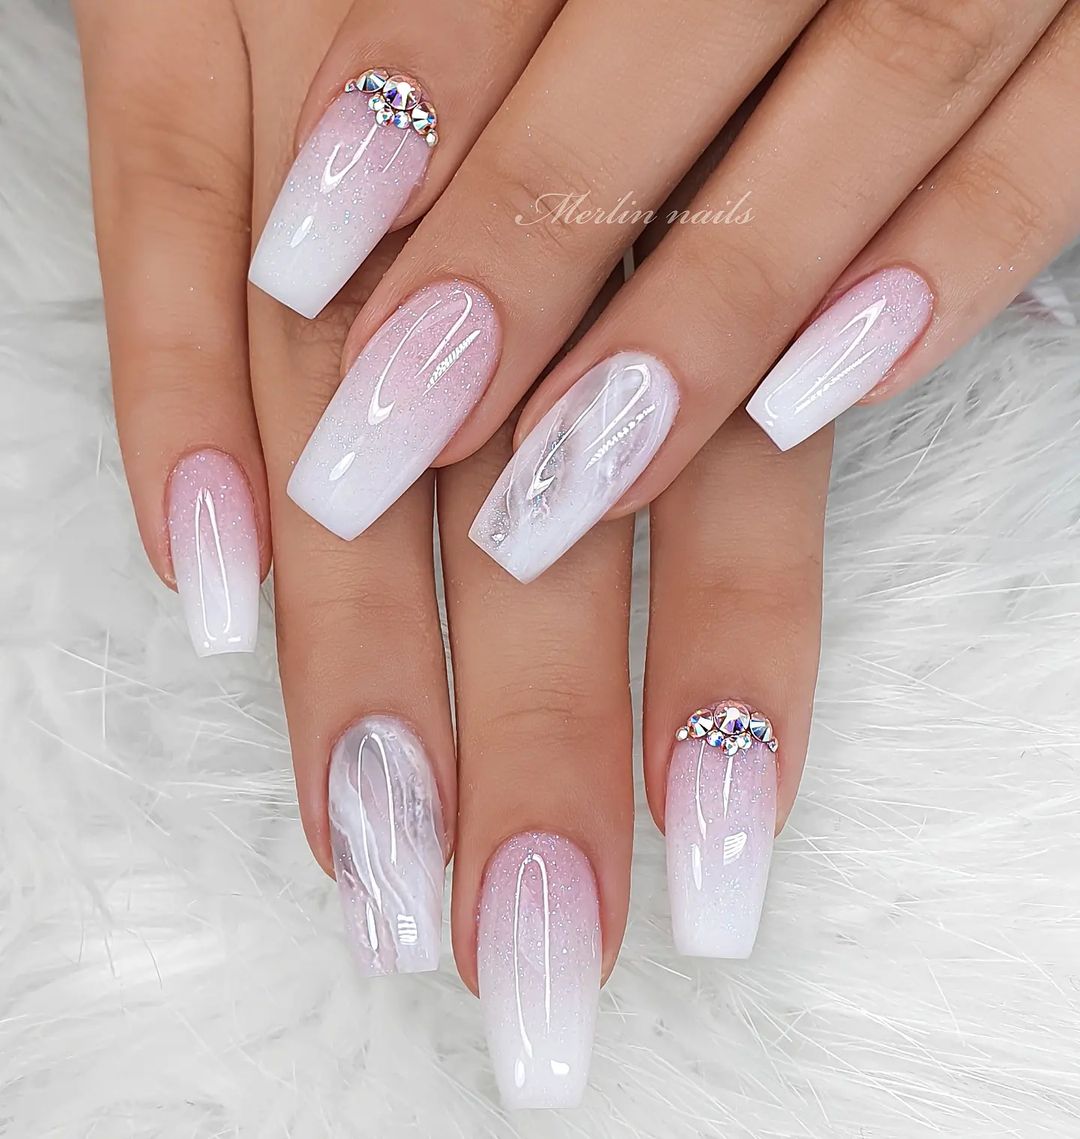
White Ombre Nails Glitter
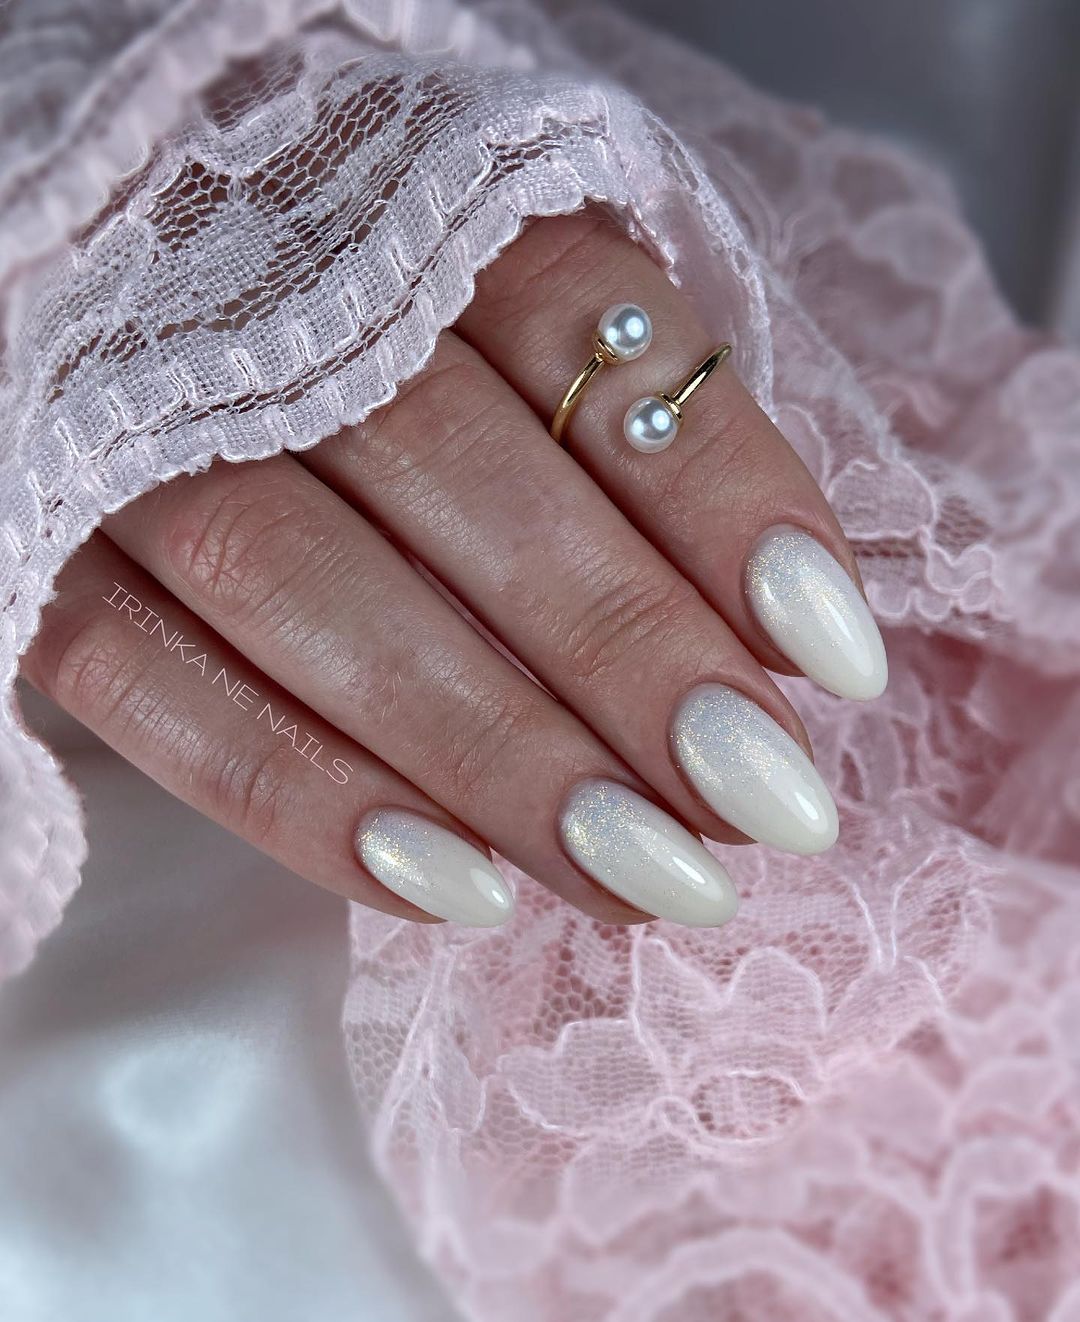
The best thing about white glitter ombre nails is they go with almost everything. They look classic and casual, and you can use any type of glitter on top, and it’s sure to stand out. Also, fall colors aren’t the extent of the seasonal colors you should try. According to color experts, you can also expect to see some crisp winter colors too! The official colors for this winter include:
- Nosegay: light, airy pink
- Waterspout: cool blue
- Caramel Cafe: yummy coffee
- Midnight: deep-ocean blue
- Martini Olive: dark, olive-beige
Final Thoughts
The main takeaway is that glitter ombre nails are very striking. It isn’t shocking that the style continues to grow in popularity. Best of all, glitter ombre nails look beautiful on hands, young and old! Whether you decide to wear glitter, an ombre design, or both, it’s hard to do it wrong.