


This ombre nails article is here to ensure your fingertips are not just fashion-forward, but ready to steal the spotlight at any:
- Disco
- Wedding
- Impromptu interpretative dance-off
From sultry sunset vibes to unicorn dreams, ombre nails are the mood ring of the nail art world-always changing, always fabulous.
Today, we jump into the top ombre styles that range from subtle sophistication to “Did you just dip your fingers in a rainbow?” chic.
Whether you’re aiming for the elegance of a black-tie affair or the whimsy of a unicorn’s birthday party, we’ve got you covered.
What Are Ombre Nails?
Ombre nails, a captivating form of nail art, showcase a gradient effect where colors seamlessly blend from one shade to another. Originating from the French word “ombre,” meaning “shaded” or “graduated,” this technique has become immensely popular due to its versatility, accommodating any nail shape and length.
The appeal of ombre nails lies in the various methods available for their creation, including:
| Aspect | Description |
| Application Methods | Achieve the ombre effect using versatile methods like sponge application, brush blending, or dip powder. Each technique offers a unique result, allowing you to personalize the gradient effect according to your preference. |
| Color Transition Styles | Customize the transition between colors to suit your style-whether you prefer a smooth and subtle shift or a sharp and defined contrast, ombre nails offer flexibility in creating the perfect gradient effect. |
| Multicolor Options | Explore a spectrum of possibilities by opting for ombre nails with two or more colors. From soft pastels to vibrant neons, the versatility of multicolor ombre designs allows for endless combinations suitable for any occasion or mood. |
Whether you gravitate towards the subtle or crave bold contrasts, ombre nails offer a personalized touch to suit any occasion or mood, making them a timeless and popular trend in nail aesthetics.
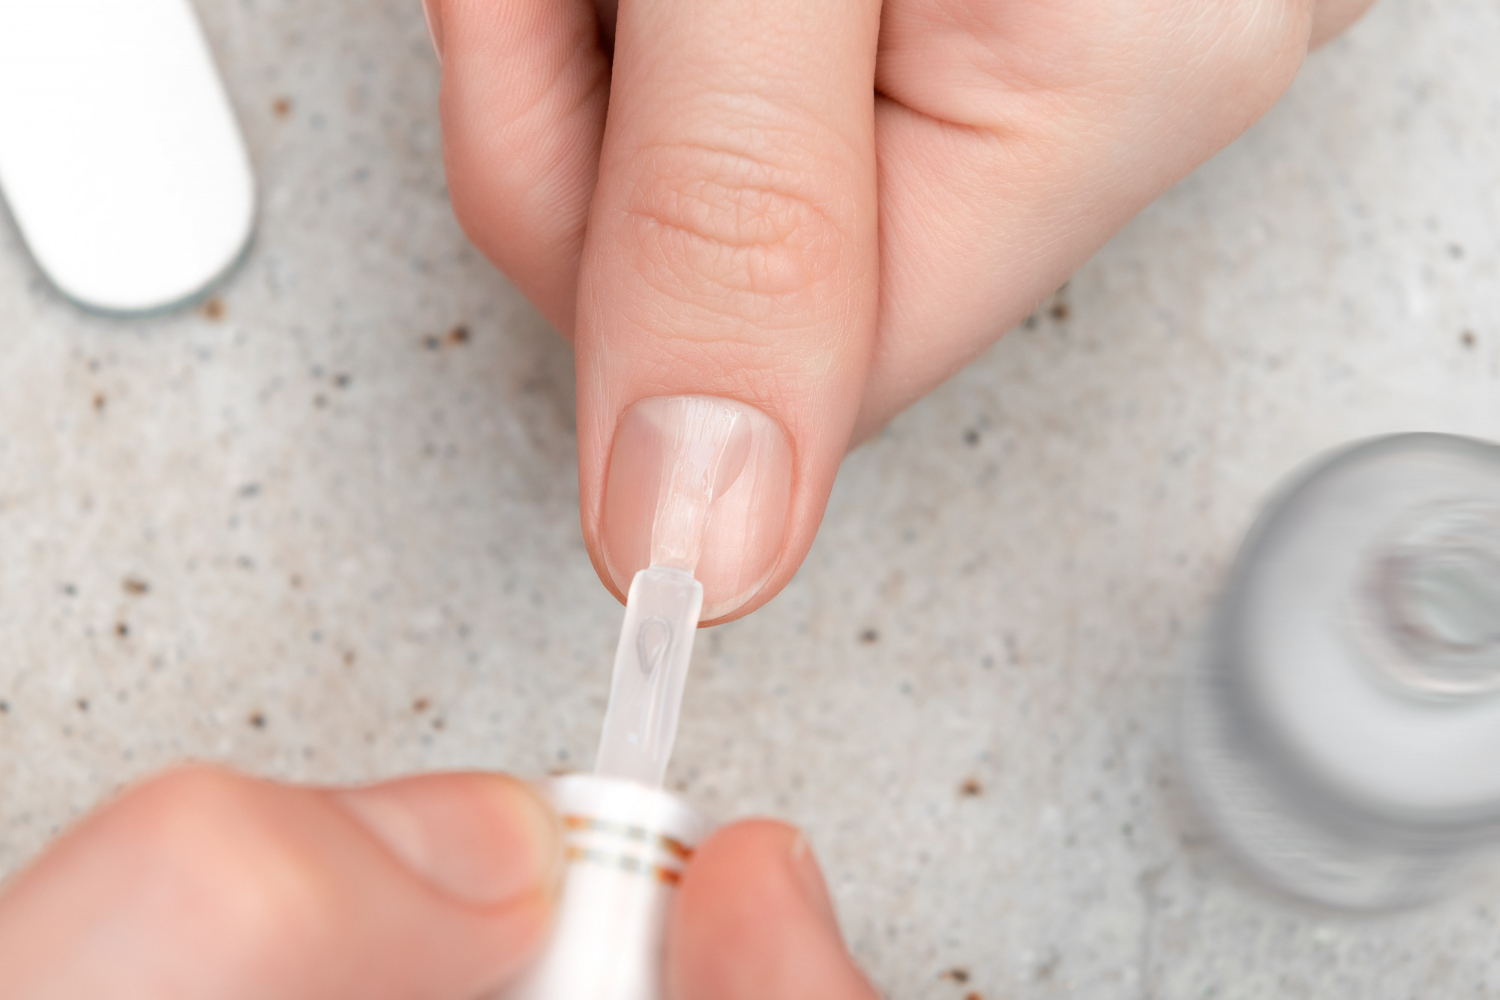
How to Do Ombre Nails
If you’re ready to take your nail game to the next level and try ombre nails, fear not – it’s easier than it looks.
Here’s a step-by-step guide to help you achieve the perfect ombre manicure:
- Start by preparing your nails. Remove any old nail polish and trim and shape your nails to the desired length and shape.
- Apply a base coat to protect your nails and provide a smooth surface for the ombre design.
- Select the colors you want to use for your ombre nails. It’s best to choose shades that complement each other and create a seamless transition.
- Using a makeup sponge or a small nail art brush, apply a thin layer of the lightest color near the base of your nails.
- Dab the sponge or brush lightly along the middle section of your nails, blending the colors together.
- Continue adding layers of color and blending until you achieve the desired ombre effect.
- Once the polish has dried, apply a top coat to seal in the design and add shine.
Remember, practice makes perfect. Don’t be discouraged if your first attempt at ombre nails doesn’t turn out exactly as planned. With a little patience and practice, you’ll be able to master this trendy nail art technique in no time.
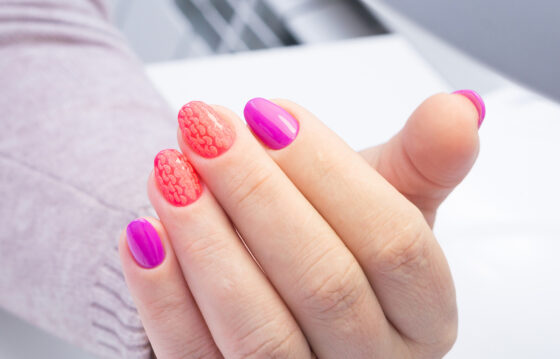
Pink Ombre Nails

Pink ombre nails are popular for those looking to achieve a feminine, romantic look. From pale blush to vibrant fuchsia, pink offers a range of shades that can be blended together seamlessly.
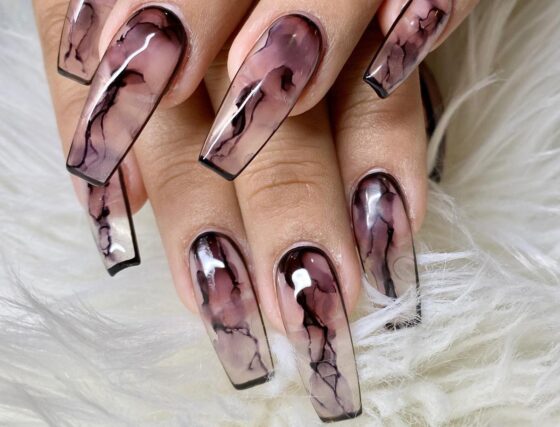
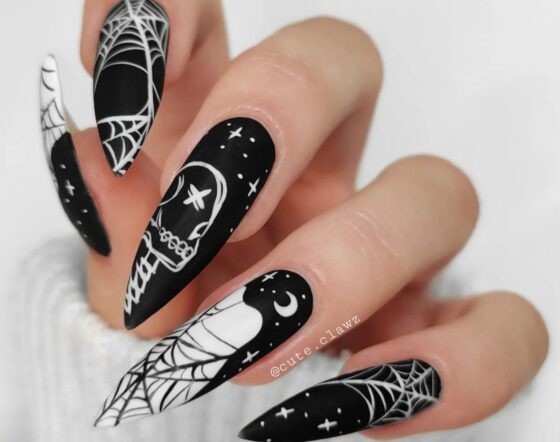
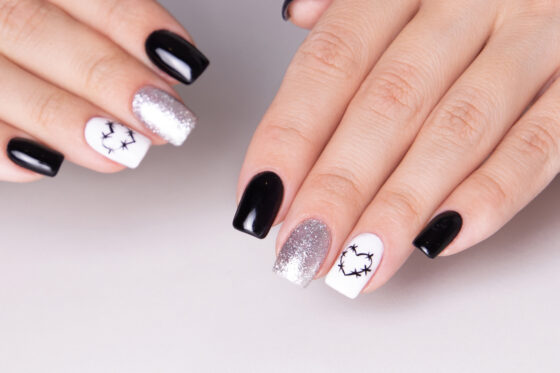
Black Ombre Nails

For ladies who prefer a bold, edgy look, these black ombre nails can make it happen. Black is a versatile color that can be combined with various shades to create stunning ombre designs.
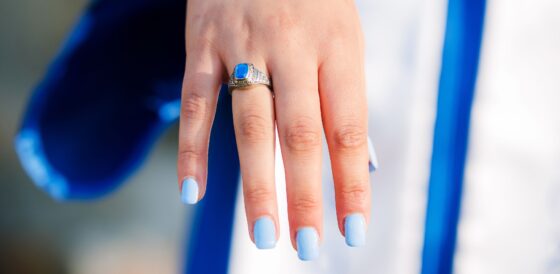
Blue Ombre Nails

Blue ombre nails are a popular choice for those who want to add a pop of color to their manicure. Blue is a versatile shade that can range from pale sky blue to deep navy.
These blue ombre nails are guaranteed to make a splash, whether you choose a:
- Single shade of blue or opt for
- Combination of different hues
- Metallic blue accent design
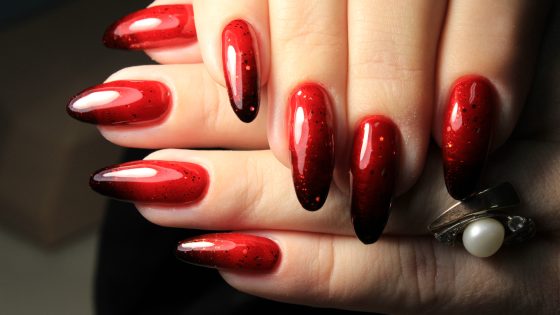
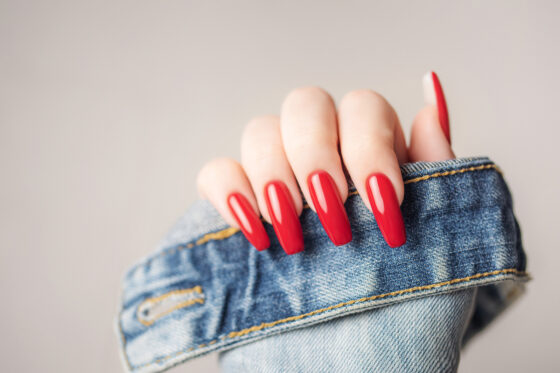
Red Ombre Nails

Red ombre nails are a classic choice that never goes out of style. Red is a boldly powerful color that symbolizes passion and confidence. Whether you prefer a fiery and intense look or a soft and romantic vibe, these red ombre nails are sure to make a statement.
Ombre Dip Nails

Ombre dip nails are a popular alternative to traditional nail polish. This method involves using dip powder to achieve the ombre effect, resulting in a long-lasting and durable manicure. Ombre dip nails are perfect for ladies who want a manicure that’s:
- Low-maintenance
- Stylish
- Distinct
Short Ombre Nails

Who says ombre nails are only for long talons? These short ombre nails are just as stylishly eye-catching.
Zohna Tip
For short ombre nails, a gradient effect that starts closer to the base of your nails can create the illusion of length.
Ombre Nails With Glitter

Looking to add some sparkle to your ombre nails? These glitter ombre nails are the perfect choice for a dazzling and glamorous manicure. From subtle shimmer to full-on sparkle, glitter can take your ombre nails to the next level.
Zohna Tip
Gently press the glitter into the nails to ensure it adheres properly, then seal it with another layer of top coat.
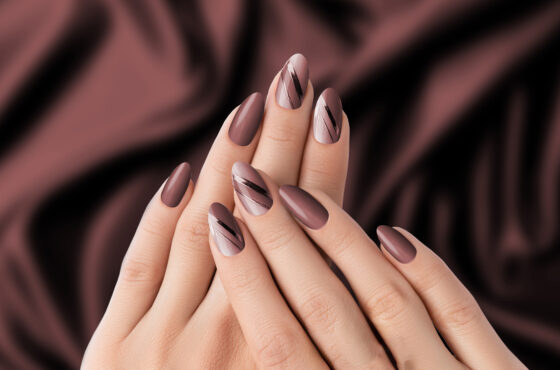
Brown Ombre Nails

Brown ombre nails are a versatile, sophisticated choice for ladies who want a neutral yet polished look. Brown is a warm and earthy color that can range from light beige to rich chocolate.
Zohna Tip
To achieve brown ombre nails, start with a light brown polish near the base of your nails and gradually fade to a darker shade towards the tips.
Ombre Chrome Nails

These ombre chrome nails will do the trick if you’re looking for an ultra-glamorous, futuristic look. Chrome nails have become a popular trend in recent years, adding a uniquely eye-catching element to any manicure.
Orange Ombre Nails

Bring a burst of sunshine to your nails with orange ombre nails. This vibrantly energetic color is associated with warmth and enthusiasm. Whether you choose a soft and peachy shade or a bold and fiery hue, orange ombre nails are sure to brighten up your day.
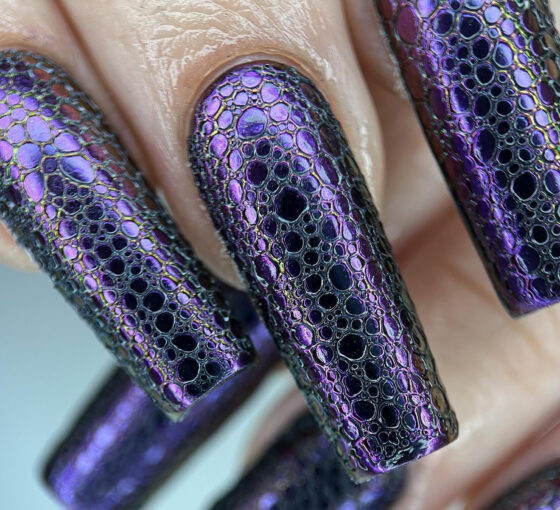
Purple Ombre Nails

Purple ombre nails are a regal, elegant choice for sisters who want a pop of color with a touch of sophistication. It’s versatile color ranging from soft lavender to deep plum.
Purple ombre nails are perfect for any occasion, whether it’s a:
- Formal event
- Casual outing
- Daytime Soiree
Ombre Gel Nails

If you’re looking for a long-lasting, durable manicure, ombre gel nails are the way to go. Gel nails have gained popularity recently due to their longevity and chip-resistant properties.
Ombre gel nails are perfect for a low-maintenance and long-lasting manicure.
Black and Red Ombre Nails

If you crave a bold, striking look, black and red ombre nails are the perfect choice. Black and red are a classic color combination that exudes:
- Power
- Confidence
- Sophistication
Whether you opt for a subtle and sleek gradient or a dramatic and eye-catching design, these black and red ombre nails will make you smile all day long!
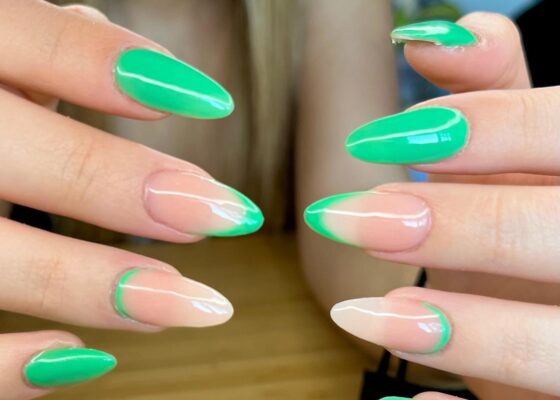
Ombre Almond Nails

Almond-shaped nails are a trendy and elegant choice that complements the ombre nail art technique perfectly. These almond nails are characterized by their narrow and rounded shape, resembling the nut after which they are named.
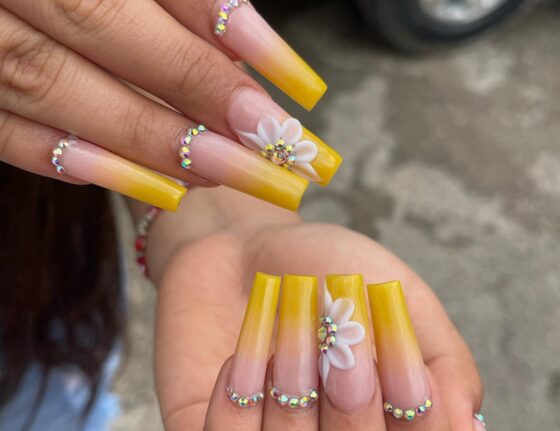
Yellow Ombre Nails

Bring some sunshine and happiness to your nails with yellow ombre nails. Yellow is a vibrant and cheerful color that symbolizes warmth and positivity. Whether you choose a soft and pastel shade or a bold and bright hue, yellow ombre nails will bring the brightness you desire.
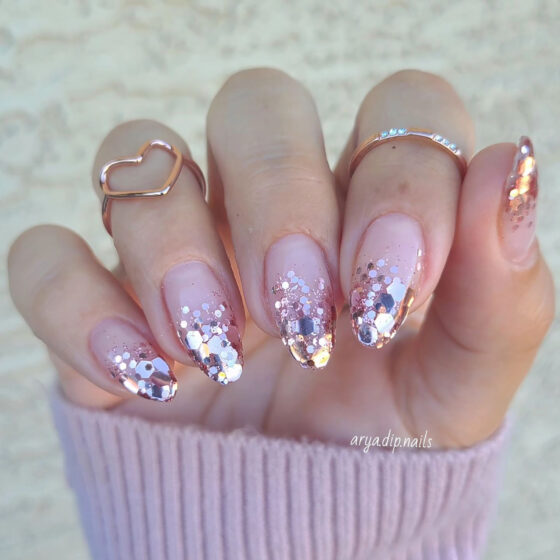
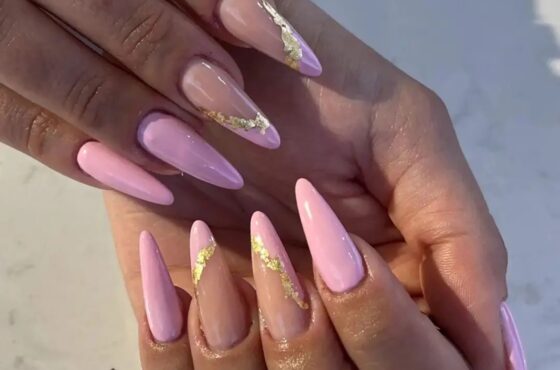
Rose Gold Ombre Nails

If you’re a fan of metallic shades and want a trendy and sophisticated look, these rose gold ombre nails can assist. Rose gold is a timeless, elegant color that combines the warmth of gold with the femininity of pink.
Zohna Tip
For added elegance, you can incorporate some gold or silver accents into your rose gold ombre design.
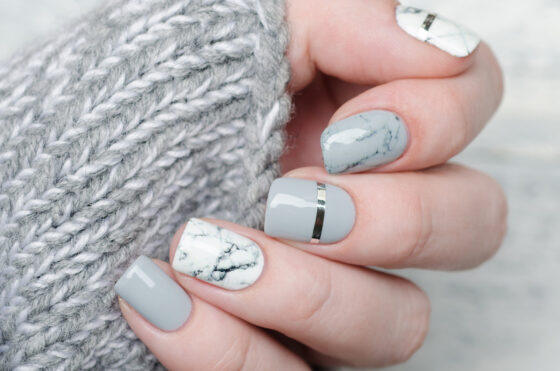
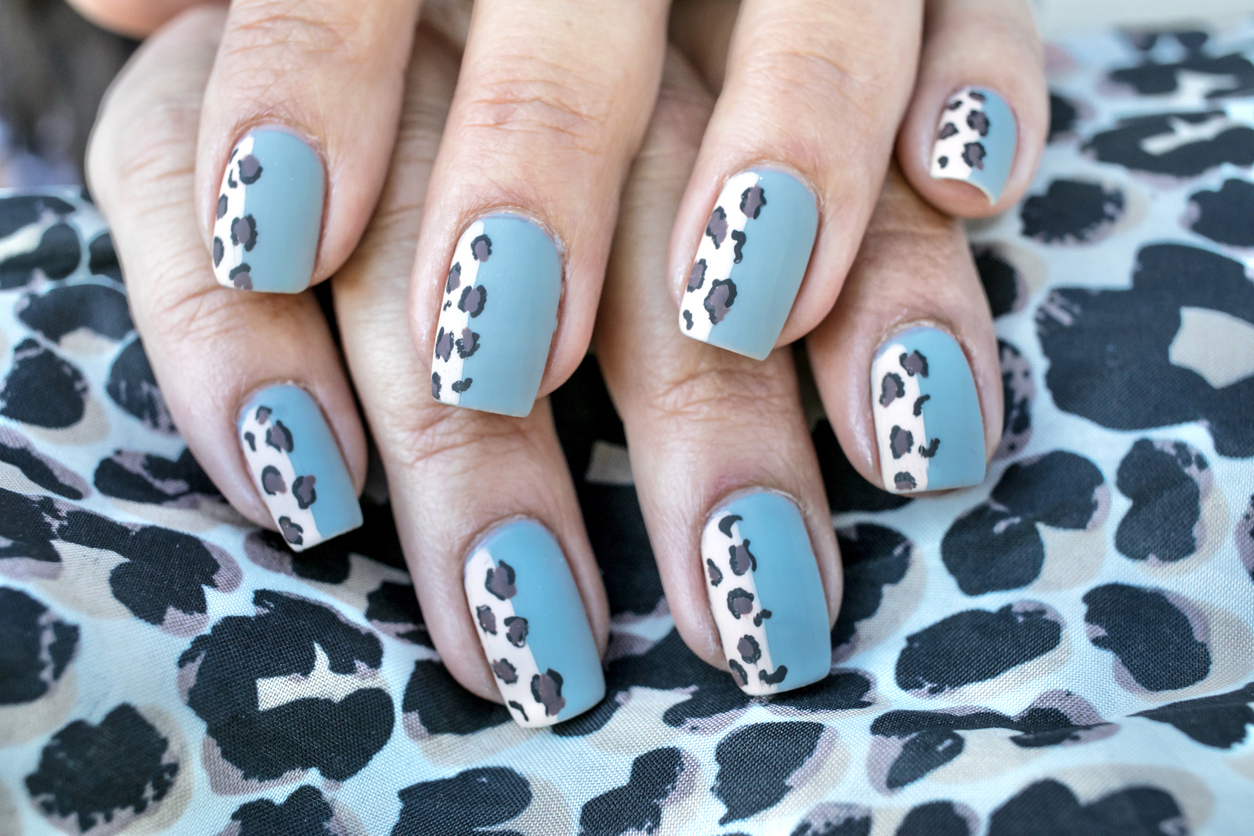
Gray Ombre Nails

Gray ombre nails offer a sleek, sophisticated look that never goes out of style. Gray is a versatile color that can range from light silver to deep charcoal. Whether you prefer a subtle and understated gradient or a bold and dramatic design, gray ombre nails will impress no matter where you go!
Gold Ombre Nails

Go for the gold with ombre nails that exude luxurious glamor. Gold is a timeless, elegant color associated with wealth and success. These gold ombre nails are perfect for special occasions or when you want to showcase your inner diva.
Christmas Ombre Nails

‘Tis the season to rock some festive ombre nails! Capture the holiday spirit with a red and green gradient that will have everyone jingling with envy.
Picture yourself sipping hot cocoa by the fireplace, while your nails sparkle with a touch of silver or gold glitters. This Christmas, your nails will be the stars of the show!
Ombre Stiletto Nails

Stiletto or coffin ombre nails are your go-to choice if you’re a fan of boldly fierce styles. Combine their sharp shapes with ombre effects, and you’ll have an unbeatable combination that screams confidence.
Zohna Tip
Try a sultry black to red gradient or play with different shades of blue for an edgy rockstar look.
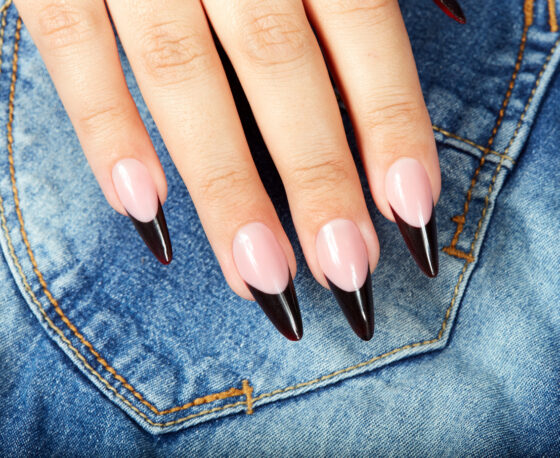
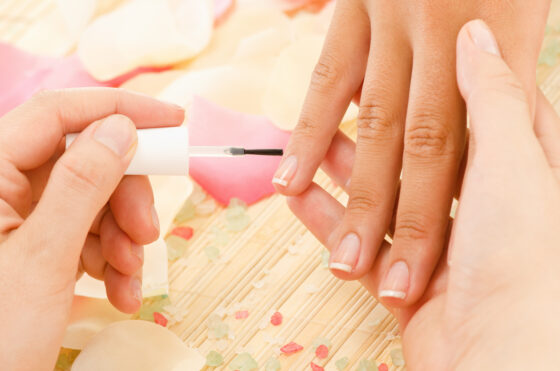
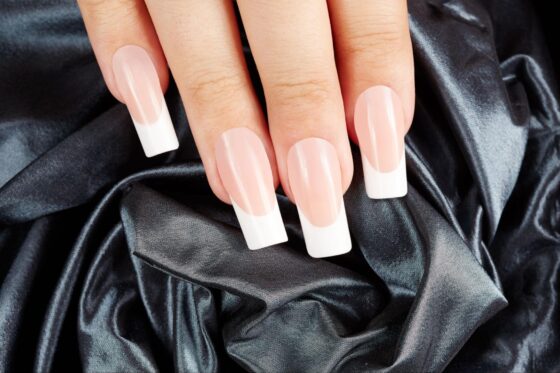
French Tip Ombre Nails

Say au revoir to traditional white tips and bonjour to a chic new twist. French tip ombre nails add a touch of elegance to your manicure. Transition from a soft nude shade to a delicate pastel at the tips, and you’ll be serving up some seriously sophisticated vibes.
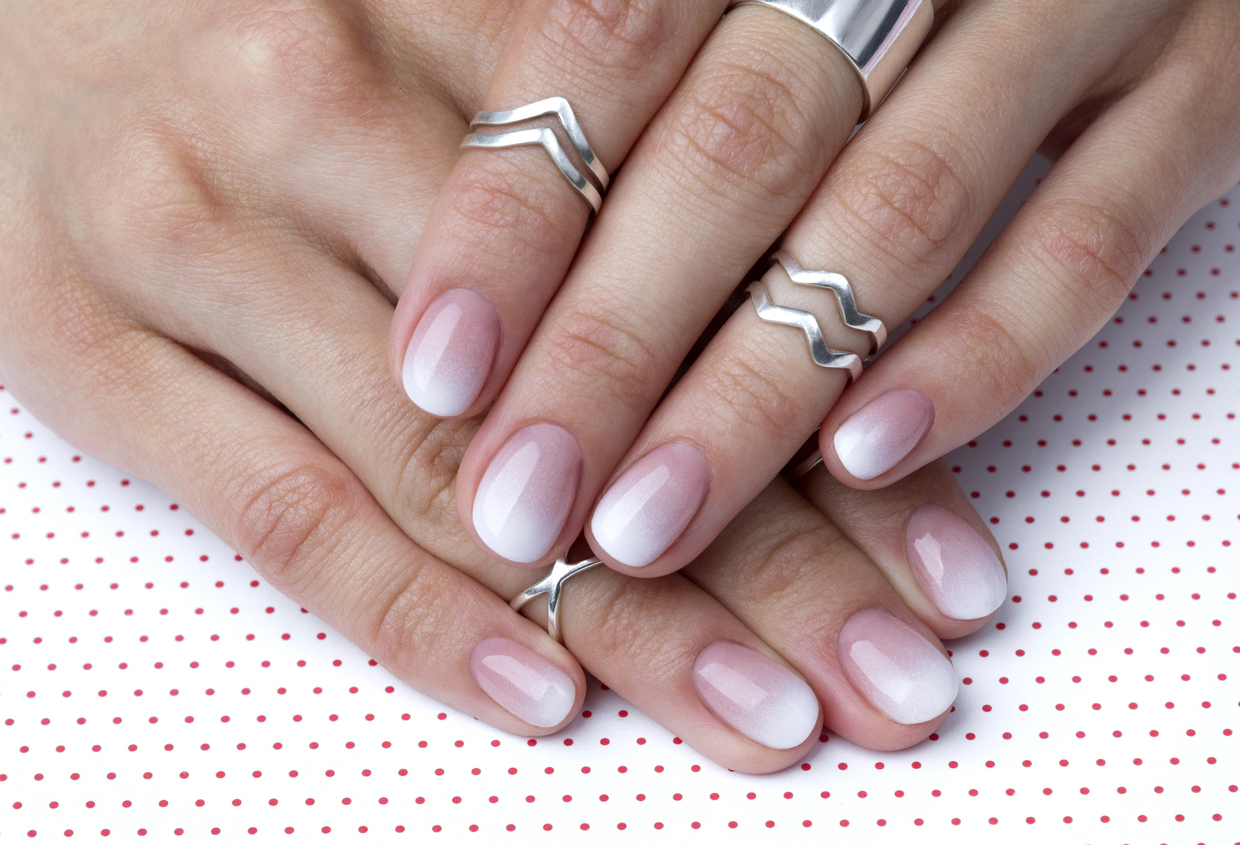
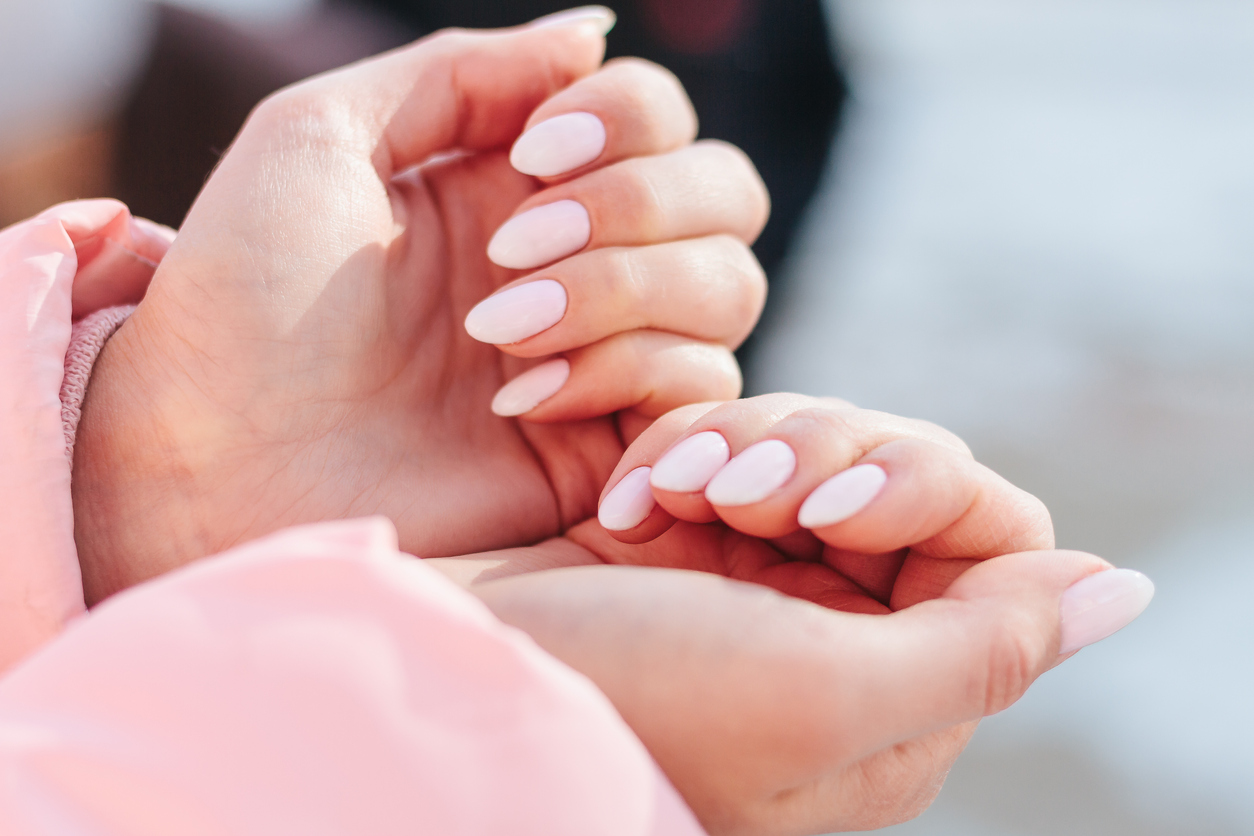
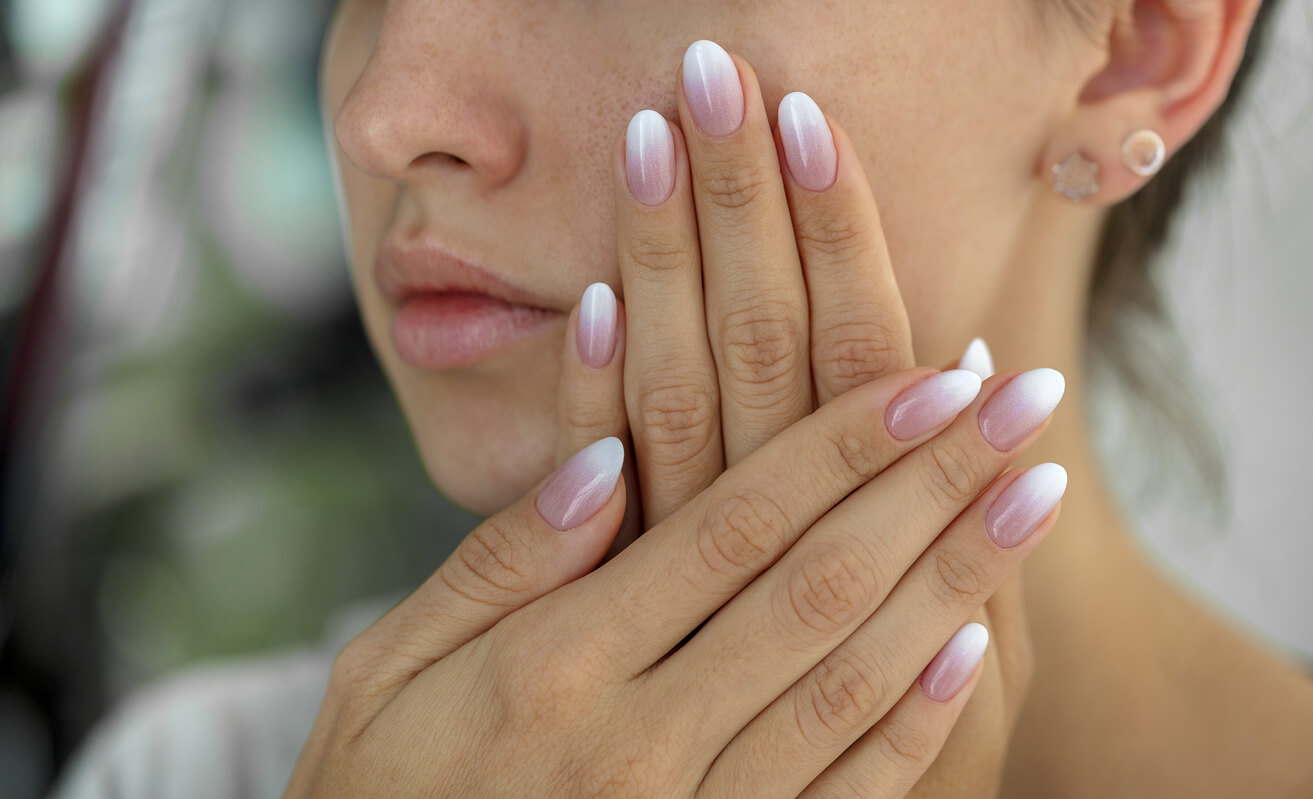
Pink To White Ombre Nails
Pink to white ombre nails are an absolute must-try for a feminine, graceful style. Gradually fade from a bold pink hue to a pure white shade, creating a dreamy, romantic effect.
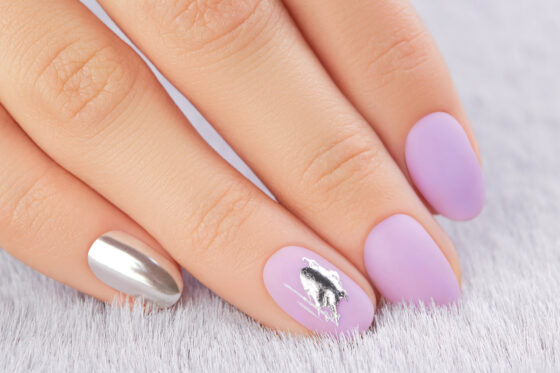
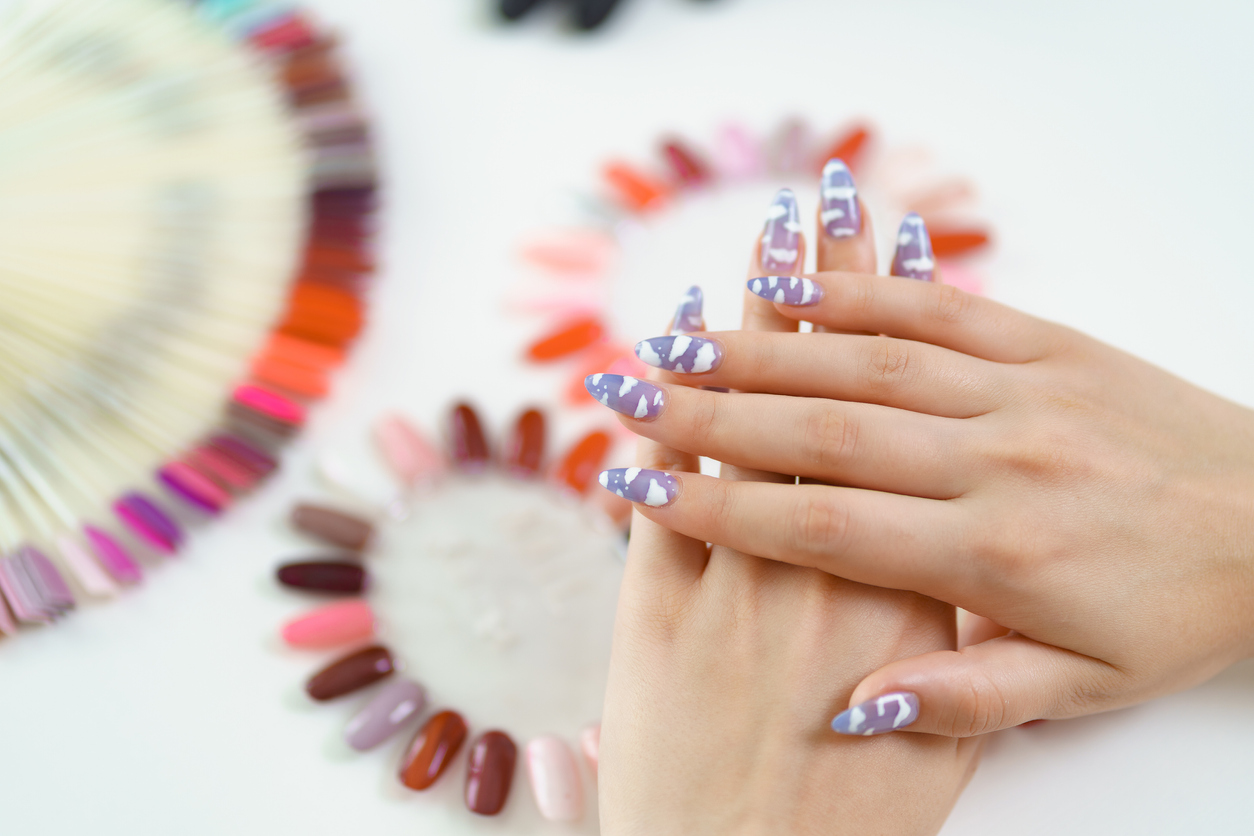
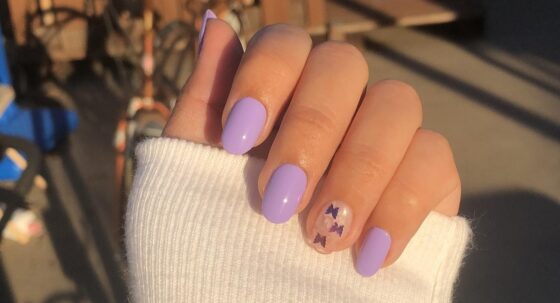
Lavender Ombre Nails

Embrace your inner lavender lover with nails that exude tranquil serenity. Lavender ombre nails offer a soothing gradient that will transport you to a peaceful oasis. Mix and match different shades of lavender, from pale pastels to deeper hues, and watch as your nails become a calming work of art.
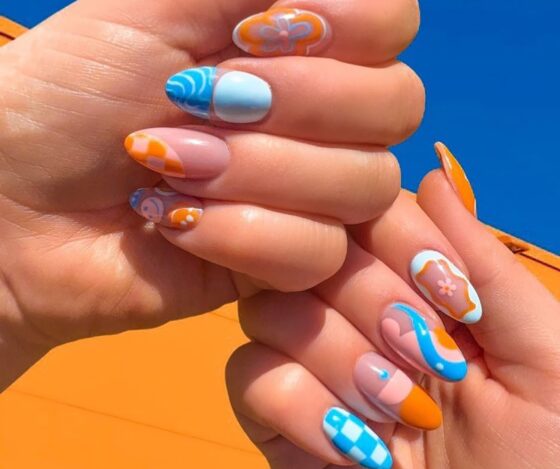
Summer Ombre Nails

Summer is the perfect time to let your nails shine bright like the sun. Welcome vibrant colors and playful designs with summer ombre nails. With these summer ombre nails, you’ll channel the carefree vibes of the season wherever you go.
Spring Ombre Nails

As the flowers bloom, it’s time to embrace the freshness of spring on your nails. Spring ombre nails offer a range of pastel hues and delicate transitions. Picture soft pinks fading into baby blues or mint greens transforming into sunny yellows.
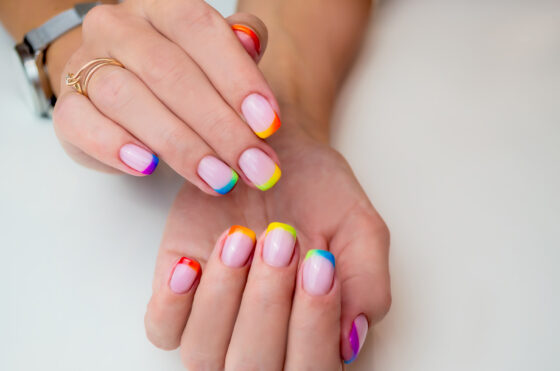
Neon Ombre Nails

If you like bold and vibrant colors, these neon ombre nails will be your thing. Experiment with electrifying gradients that will make your nails pop. From neon yellow to hot pink and everything in between, these nails are sure to grab attention wherever you go.
Sunset Ombre Nails

With this captivating style, capture the awe-inspiring beauty of a sunset on your nails. Transition from warm oranges and pinks to deep purples and blues, recreating the stunning colors that grace the sky during the golden hour.
Blue and Pink Ombre Nails

Combine the coolness of blue with the sweetness of pink for a fabulous color combination. Blue and pink ombre nails offer a delightful mix of contrasting shades that create a visually stunning effect.
Whether you prefer baby blue and pastel pink or navy blue and hot pink, these nails are a statement-making choice for women seeking a dynamic look.
Teal Ombre Nails

Dive into the depths of the ocean with captivating teal ombre nails. This color palette allows you to channel the serene beauty of the sea. Blend different shades of teal, from light aquamarines to deep turquoise, and watch as your nails become a mesmerizing aquatic wonderland.
Silver Ombre Nails

Silver ombre nails are an excellent choice for a touch of glamor and sophistication. Gradually fade from a bold metallic silver to a softer shade or combine silver with other colors for a dazzling effect.
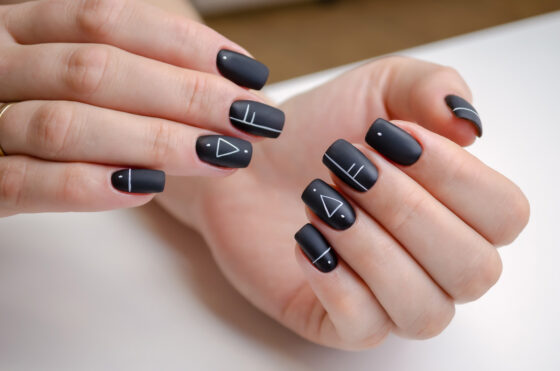
Matte Ombre Nails

Add a modern twist to your ombre nails with a matte finish. Matte ombre nails offer a unique and edgy look that stands out. Experiment with matte black fading into a glossy nude or try a monochrome matte gradient for a minimalist vibe.
Beige Ombre Nails

If you’re a fan of neutral tones, these beige ombre nails are a perfect match for your style. Elegant and timeless, these nails are all about subtle transitions between various shades of beige.
From sandy tones to creamy hues, beige ombre nails offer a sophisticated and polished look suitable for any occasion.
Reverse Ombre Nails

Flip the ombre game on its head with these reverse ombre nails. Instead of fading from light to dark, reverse ombre nails start with a vibrant color at the cuticle and transition to a softer shade towards the tips. This unique twist adds a fun and unexpected element to your manicure.
Winter Ombre Nails

Embrace the frosty beauty of winter with nails that sparkle like snowflakes. Winter ombre nails feature icy blues, shimmering whites, and subtle hints of silver or gold. From frostbite ombre nails to snowfall-inspired gradients, this style will transport you to a winter wonderland whenever you look at your nails.
Ombre Sparkle Nails
For ladies who can’t resist a bit of sparkle and shine, ombre sparkle nails are the answer. Combine your favorite colors with glittery polish for a dazzling effect that will light up any room.
Clear Ombre Nails

Less is more with clear ombre nails that offer a minimalist approach to this popular trend. Gradually fade from a clear or sheer base to translucent tips, creating a chic and understated look. Clear ombre nails are perfect for ladies who want a sophisticated and versatile manicure that goes with any outfit.
Black and Pink Ombre Nails

Channel the perfect balance between edgy and feminine with a smoky black fading into a vibrant pink. This striking combination allows you to showcase your fierce side while embracing your love for all things pink.
Pastel Ombre Nails

Soft, dreamy, and utterly charming – that’s the magic of pastel ombre nails. Blend subtle shades of baby blues, mint greens, and sweet lavenders for a delicate and ethereal manicure. Pastel ombre nails are perfect for those who prefer a more whimsical, fairy-like style.
Ombre Nails With Rhinestones

Rhinestones effortlessly bring a touch of glamor to your ombre nails, elevating them to new heights.
Check out this table showcasing different ombre nails with rhinestone styles.
| Ombre Nail Inspiration | Description |
| Soft Pastel Gradient | For a chic and sophisticated style, experiment with a gradient of soft pastel shades, such as blush pink fading into a creamy white. This subtle ombre effect exudes delicacy and femininity. |
| Vibrant and Dramatic Contrast | Embrace boldness with a vibrant and dramatic ombre look using contrasting colors like electric blue and neon yellow. Incorporate rhinestones in coordinating colors for an attention-grabbing effect. |
| Playful Whimsical Design | Express your personality daily by incorporating rhinestones in different shapes and sizes for a fun and playful ombre design. Mix and match colors to create a whimsical, eclectic look. |
| Rainbow-Inspired Bliss | Brighten up any gloomy day by mixing and matching colors for a rainbow-inspired ombre look. Experiment with different hues and shapes to create a stunning and vibrant nail design. |
Zohna Tip
Enhance the look by strategically placing rhinestones at the tips or along the cuticle line.
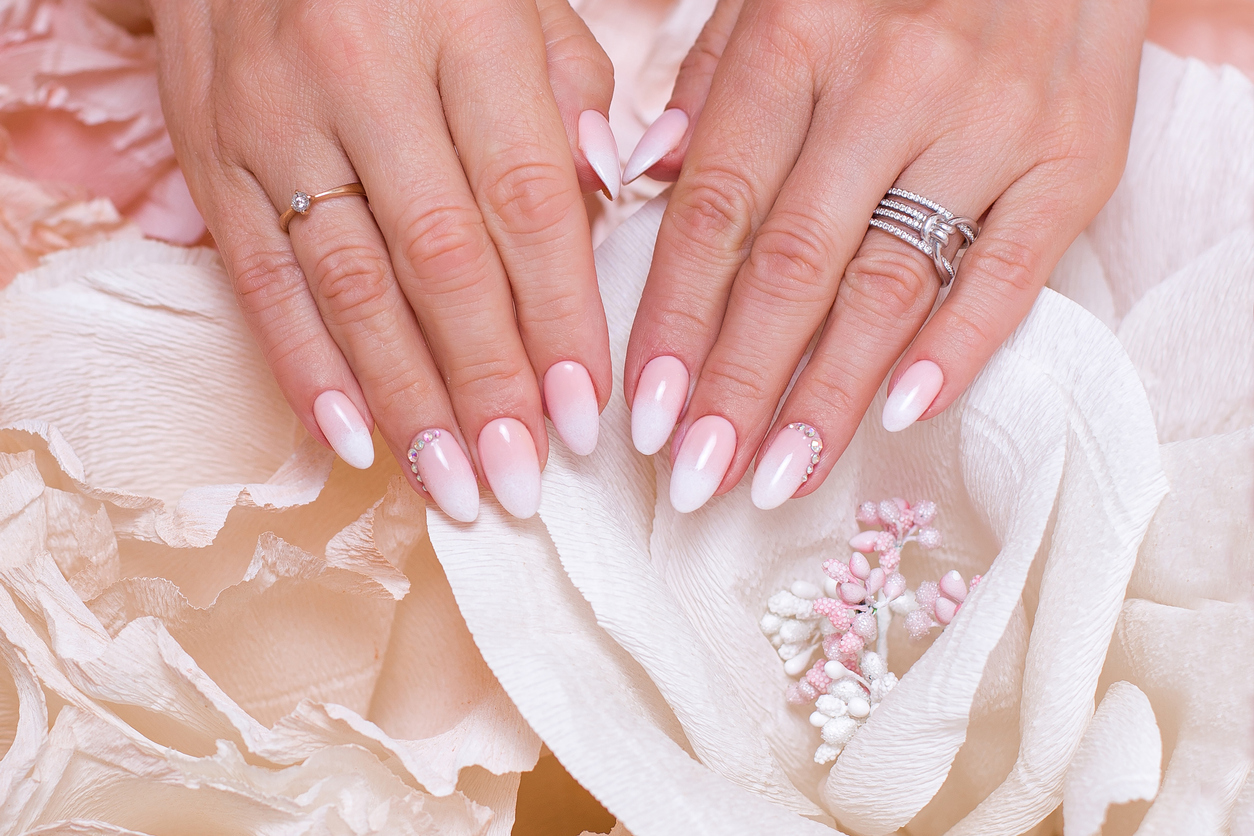
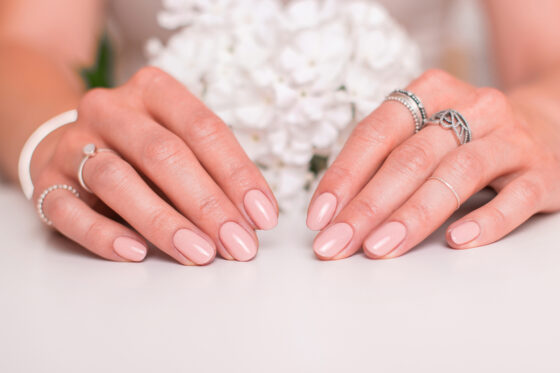
Ombre Wedding Nails

Your wedding day is the perfect opportunity to showcase your personal style, and ombre nails are a great choice for brides-to-be. Opt for a subtle ombre gradient using soft pastel colors for an elegant and sophisticated look.
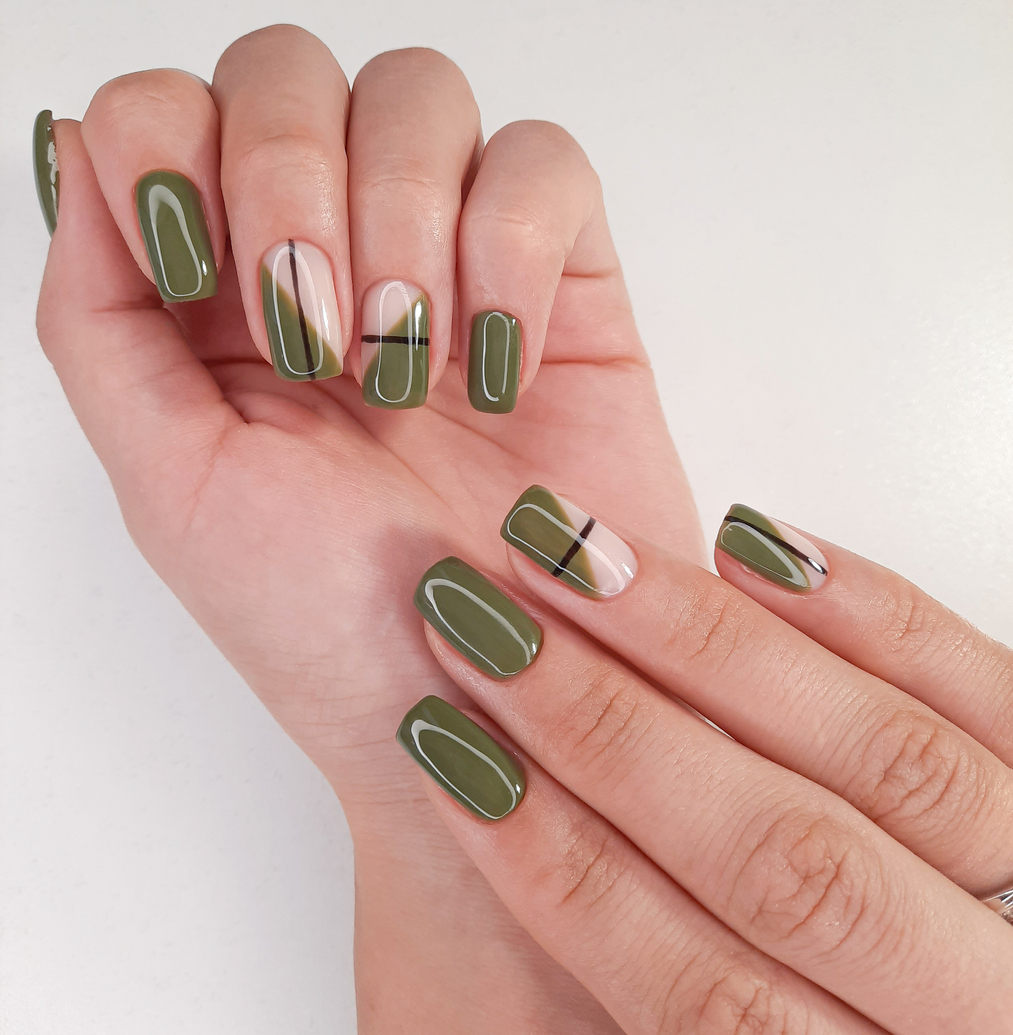
Square Ombre Nails

Square nails are a classic choice that never goes out of fashion. Combined with an ombre gradient, they create a chic, modern look. To achieve square ombre nails, start by shaping your nails into a square shape and buffing them to perfection.
Then, choose two complementary colors and create a gradient effect using a sponge or a brush. Finish off the look with a glossy top coat to give your nails a polished finish.
Turquoise Ombre Nails

Add a pop of color to your fingertips with turquoise ombre nails. This vibrant shade is perfect for summer and instantly makes your nails pop.
Dark Blue Ombre Nails

This mesmerizing shade is reminiscent of the deep ocean and will add a touch of mystery to your manicure. To create this look, start with a dark blue base coat and gradually lighten the color towards the tips using a sponge or a brush.
Zohna Tip
For an extra touch of magic, add a sprinkle of shimmer to create a starry night effect.
Maroon Ombre Nails

Add a touch of sophistication to your nails with maroon ombre. This rich and deep shade is perfect for the autumn season and will instantly elevate your manicure.
Long Ombre Nails

Long nails are a statement in themselves, but when combined with an ombre gradient, they become a work of art. Imagine the feeling of confidence that washes over you as you flaunt these long ombre nails.
Ombre Yellow Nails

Brighten up your day with ombre yellow nails. This sunny shade will instantly lift your mood and bring a pop of color to your fingertips.
Cat Eye Ombre Nails

This mystical style combines the mesmerizing cat eye effect with an ombre gradient, creating a truly enchanting manicure. Prepare to be spellbound!
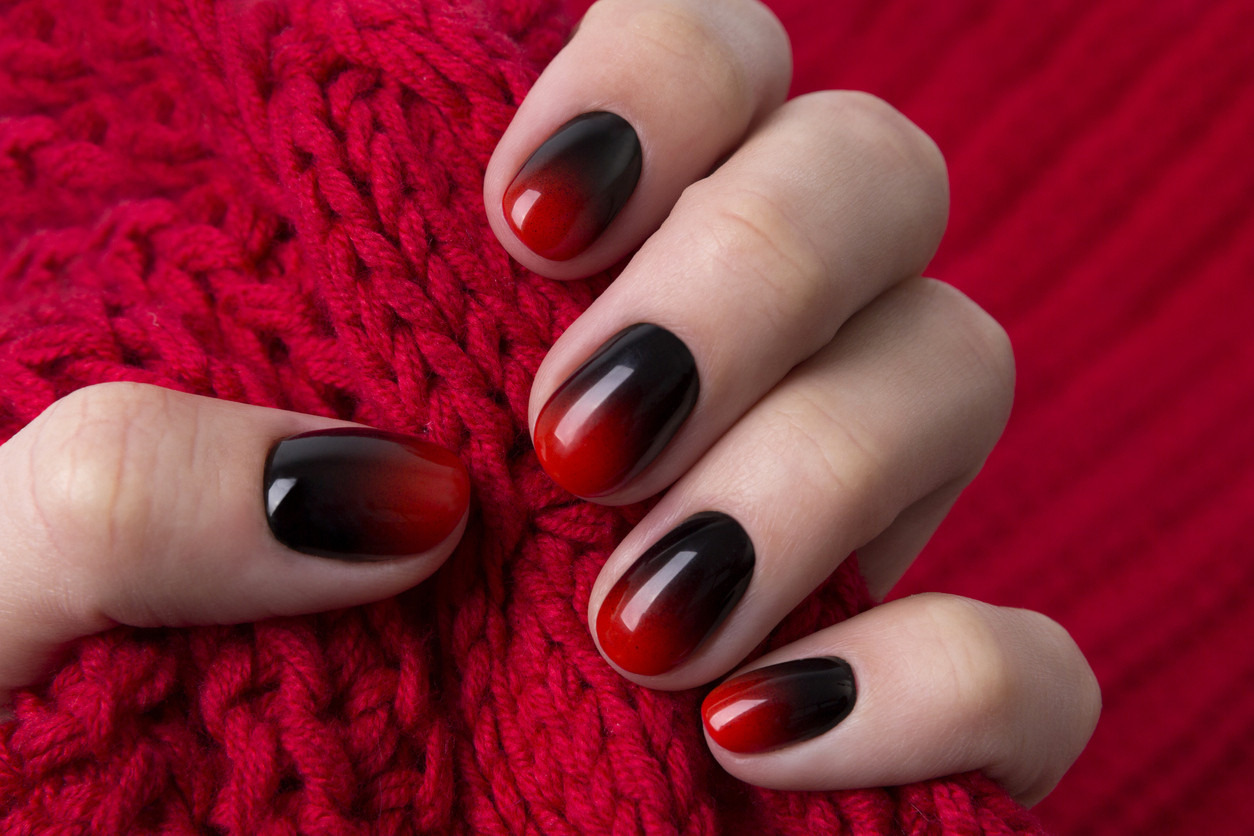
Red Black Ombre Nails

For a bold and daring look, red black ombre nails are a must-try. This sultry combination of deep red and black creates a dramatic effect that will leave a lasting impression.
Ombre Valentine Nails

Show some love to your nails with ombre Valentine nails. This romantic style is perfect for the season of love and adds sweetness to your manicure.
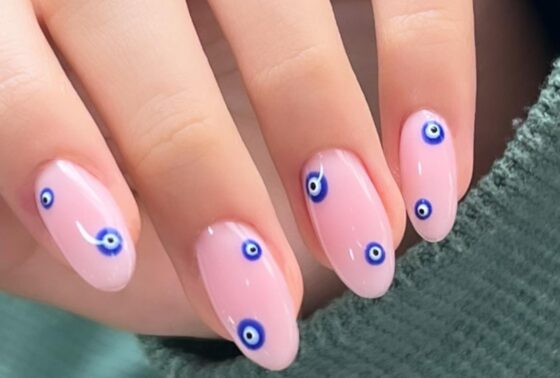
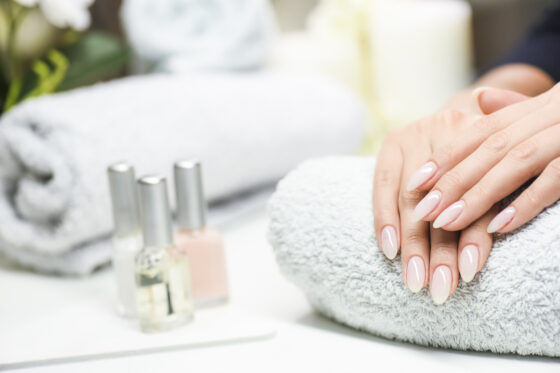
Nude To White Ombre Nails

If you prefer a more subtle and minimalist look, these nude to white ombre nails should be right up your alley. This clean, understated style will give your nails a fresh and natural appearance.
Holographic Ombre Nails

Add a touch of futuristic glam to your nails with this holographic ombre. This mesmerizing style will make your nails shine like a disco ball, catching the light and reflecting all the colors of the rainbow.
Oval Ombre Nails

Whether you’re attending a special event or simply want to elevate your everyday style, these oval ombre nails are a fantastic choice. With their elegant shape and mesmerizing gradient effect, they will make you the talk of the town.
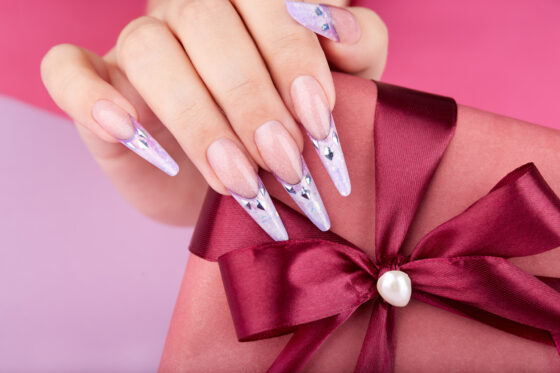
Ombre Nails With Diamonds

If you have a penchant for all things glamorous and sparkly, ombre nails adorned with diamonds might be just the thing for you.
Follow these steps to achieve the look.
| Step | Description |
| Apply Base Color | Choose a classic nude or a bold, vibrant shade for your base color. Ensure even application and let it dry completely before moving on. |
| Diamond Placement | Using a small brush or toothpick, apply tiny dots of nail glue along the gradient of your ombre nails. Decide on the placement of diamonds for the desired effect. |
| Attach Diamonds | Delicately place diamonds on the glue using tweezers or a dotting tool. Appreciate the mesmerizing sparkle as the light catches the facets. Press gently to secure them snugly. |
| Optional: Add Glitter or Rhinestones | For added glamor, consider incorporating glitter or rhinestones. Choose fine, iridescent glitter or bold, chunky rhinestones to achieve your preferred look. |
Round Ombre Nails

For a more playful, youthful look, these round ombre nails are a fantastic choice. The round shape of your nails will give your ombre manicure a cute and bubbly vibe that is sure to make you smile.
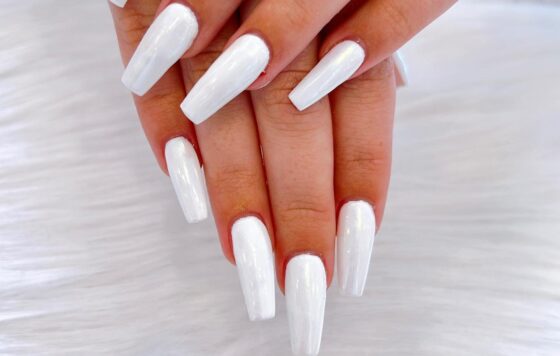
Pearl Ombre Nails

If you’re a fan of timeless elegance, pearl ombre nails are the way to go. Start by applying a pearly white shade as your base color. Then, using a makeup sponge, lightly dab a metallic or iridescent polish onto the tips of your nails. This will create a beautiful gradient effect that mimics the shimmering luster of pearls.
Ombre Beach Nails

Bring the beach vibes to your fingertips with ombre beach nails. Picture yourself strolling along the sandy shores, feeling the warm sun on your skin and the gentle breeze in your hair.
Now, imagine capturing that serene beauty and transforming it into a stunning nail art design. With these ombre beach nails, you can do just that.
White and Gold Ombre Nails

If you’re a fan of classic, luxurious nail styles, these white and gold ombre nails will be right up your alley. This chic combination exudes elegance and sophistication. Whether you’re attending a classy event or simply want to elevate your everyday look, get ready to make a statement.
Hot Pink and White Ombre Nails

Ready to inject some fun and flirty vibes into your manicure? Look no further than hot pink and white ombre nails. Start with a vibrant hot pink shade as the base and gradually fade it into a crisp white shade towards the tips.
Mermaid Ombre Nails

Begin this design by selecting shades that remind you of the mystical beauty of the sea. Start with a deep ocean blue as the base and gradually blend in shimmery greens, purples, and teals towards the tips.
You can even add some iridescent flakes or scale-like nail art for an extra mermaid touch.
Whether you’re a nail art enthusiast looking to perfect your gradient game or a newcomer intrigued by the mesmerizing blend of colors, we’ve got you covered. From the basics of ombre nail techniques to troubleshooting common issues, this FAQ is your go-to resource for achieving flawless and trendy ombre nails.
FAQ
How Long Do Ombre Nails Last?
One common query is how long ombre nails typically last. Well, it depends on factors such as the quality of the products used and how well you care for your nails. On average, ombre nails can last around 2-3 weeks before they need a touch-up or removal.
How Much Do Ombre Nails Cost?
As for the cost, the price of getting ombre nails professionally done varies depending on your location and the salon you choose. On average, you can expect to pay anywhere between $30 to $60 for a full set of ombre nails. Of course, if you choose to DIY, the cost will be significantly lower as you only need to invest in the necessary products and tools.
How to Maintain Ombre Nails?
Now that you have gorgeous ombre nails, you might wonder how to maintain them and keep them looking their best. One essential tip is to regularly moisturize your cuticles and nails to prevent them from drying out.
Additionally, avoid exposing your nails to harsh chemicals or excessive water, as these can cause the polish to chip or peel.
Can I Ombre on Short Nails?
The good news is, ombre nails can work beautifully on short nails, too! The key is ensuring the gradient is well-blended and not too abrupt.
You can even opt for a vertical gradient effect, where the colors transition from one side of the nail to the other. So, don’t let short nails stop you from rocking stunning ombre manicures.
Can I Use Any Colors for Ombre Nails?
Absolutely! The beauty of ombre nails is the endless color combinations you can experiment with. Whether you prefer soft pastels, bold neons, or timeless neutrals, there’s no limit to your creativity when it comes to ombre nail colors.
Can I Achieve Ombre Nails Without Using Nail Polish?
Yes, you can! If you prefer a more natural approach, you can use buffing blocks or nail powders to create a gradient effect on your nails. These alternatives are great for those who want ombre nails without the hassle of polish.
How Do I Avoid Smudging the Ombre Effect?
Patience is key when it comes to ombre nails. Make sure each layer of polish is fully dry before moving on to the next. You can also use a quick-drying top coat to speed up the process and prevent smudges.
Can I Achieve Ombre Nails on Acrylic or Gel Extensions?
Absolutely! Ombre nails can be done on both natural nails and extensions. The process is the same, but you’ll need to use gel or acrylic products instead of regular polish. Just make sure to follow proper application techniques for the best results.
Can I Combine Ombre Nails With Other Nail Art Techniques?
Of course! Ombre nails can be a fantastic base for other nail art techniques such as stamping, hand-painting, or even adding decals. Let your creativity soar and mix and match different nail art styles for a truly unique manicure.
Ombre Your Way
And there you have it, a complete guide to ombre nails! From oval ombre nails to mermaid-inspired styles, there’s something for everyone. Whether you visit a salon or try your hand at DIY, ombre nails are a fun and stylish way to express your personality. So go ahead, give your nails the gradient makeover they deserve and let your fingertips steal the spotlight!