


Summer is the season of fresh starts and new beginnings. For us, that means it’s also the season of new nails. And while we can all appreciate different summer colors and designs equally, there’s something about an ombre manicure that screams summer – and it’s not just because it reminds us of that perfect Instagram-worthy sunset or waves lapping the shores of a sandy beach.
If you’ve never done an ombre mani before (or are looking for some inspiration), we’ve got some tips on how to get started on your own multi-hued look, and of course, 21 ideas to try on your own nails this season.
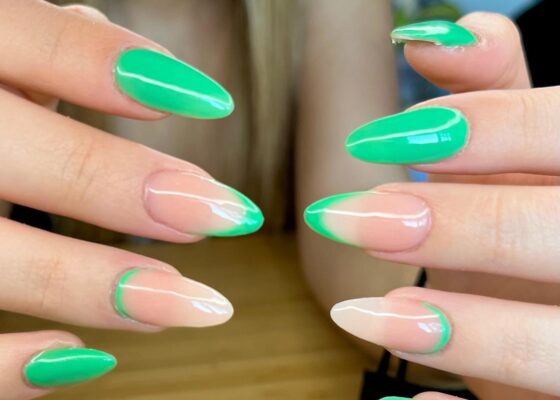
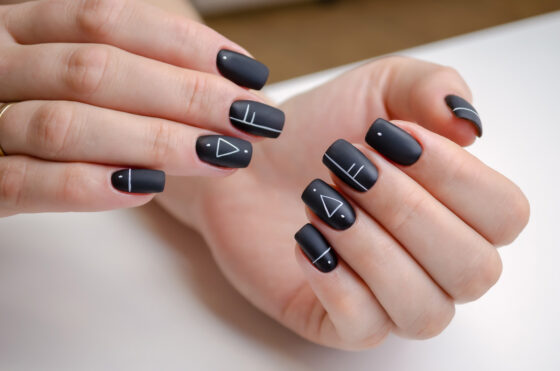
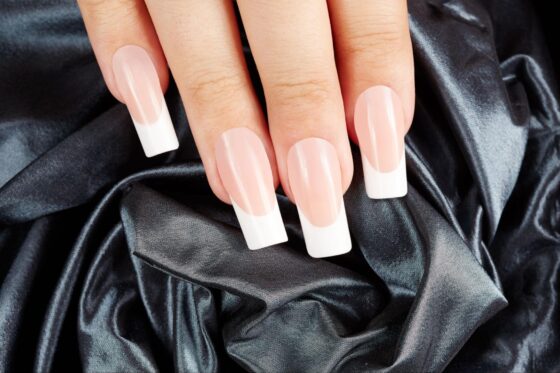
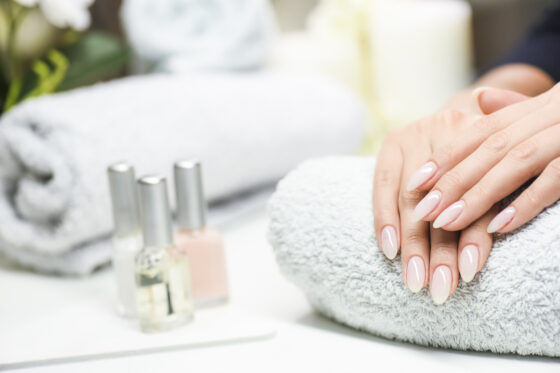
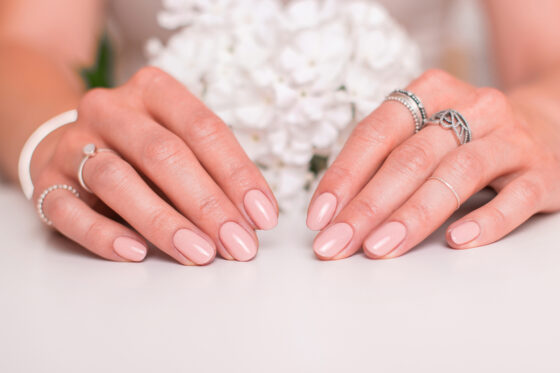
Two Tone Summer Ombre Nails

Summer is here, and you want to show off your beautiful nails, but what? Do you have enough time to paint them all in a different color each day? Don’t worry! Get your manicurist (or yourself) to create two-tone summer ombre nails for you.
Flaunt your beautiful nails with these amazing designs that are sure to make heads turn. The best part about them is that they look great on any length of the nail and can be done in many variations, just as long as it follows the basic idea of having two colors running into each other in different ways.
Commonly, two-tone nail polish designs include:
- Abstract designs
- Ombre
- Patterns
- Marbled designs
- French ombre nails
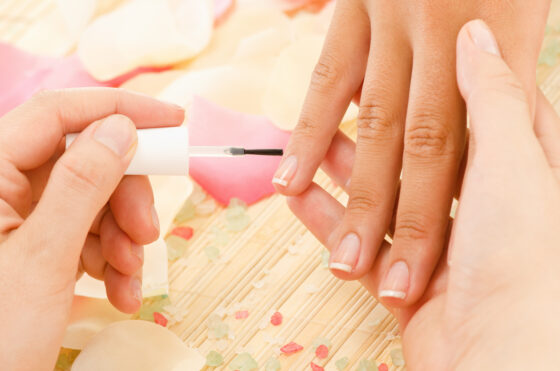
How to do Two-tone Summer Ombre Nails
The table below shows three different ways you can achieve this cool classic look using different tools and techniques.
| Method | What You’ll Need | Steps |
| Sponge Method |
|
|
| Plastic Wrap Method |
|
|
| Nail Brushing Method |
|
|
Zohna Tip
Consider the color you will use as your base. This is important because if your base color is too light or dark, it'll be hard to achieve a gradient effect with other colors. Stick with lighter base colors to contrast nicely with the other, deeper hues.
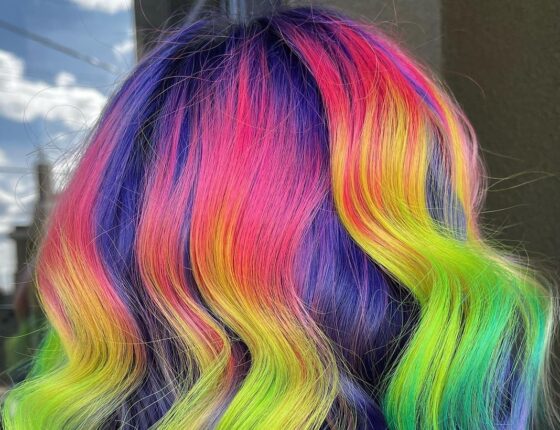
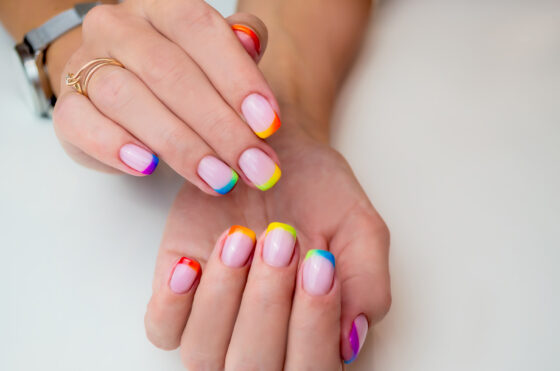
Bright Summer Ombre Nails
No – you’re not seeing things – these nails are actually that bright. Turn up the brightness on your nails with this eye-popping design for some bright ombre summer nails. The neon hues blend together to create something that resembles a multi-chromatic rainbow. Perfect for bright, hot summer days!
Summer Ombre Acrylic Nails

Summer acrylic ombre nails are a great way to add some color and fun to your nails. If you’re looking for a new nail design or want to try something that’s on trend, this is the perfect summer look for you!
Whether trying it yourself or getting it done at the salon, this look is sure to make anyone smile, and the sunny bright colors really pop.
Summer Ombre Coffin Nails
Summer coffin ombre nails are a great way to add some color and flair to your mani this summer! Summer ombre coffin nails are perfect for showing off your favorite colors of polish (yellow in this case) and adding a spot of sunshine to your look.
The best part about coffin-style nail designs is that they look good with any outfit, from casual t-shirts and shorts to sundresses and sandals. They’ll also make you feel girly AF when you go out for brunch, shopping with your friends, or even just sit around at home.
Summer Ombre Dip Nails
Dip nails are a great way to get an ombre nail design and keep your tips protected at the same time. Also called summer ombre SNS nails, this is a unique type of manicure. The dip powder nail technique involves dipping a manicured nail into colored powder, then applying a clear topcoat over the dipped nails.
You can use any colors for your dip nails that you would for regular ombre nail designs – from soft rainbow pastels like these, to bright neon hues – pretty much any look is achievable with the help of the dip nails techniques.
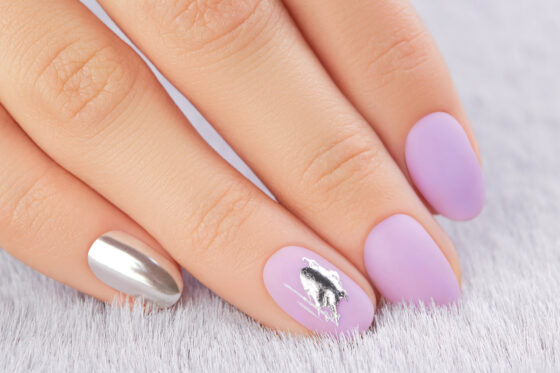
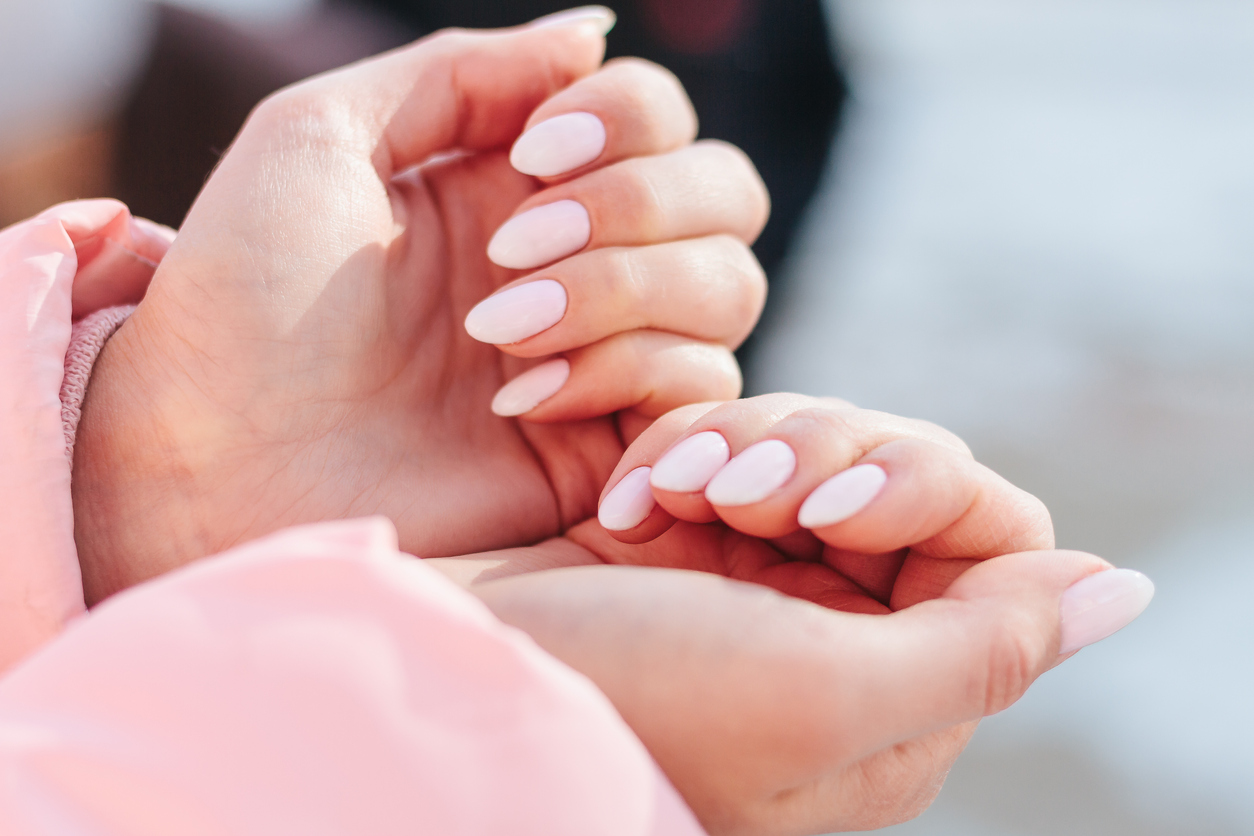
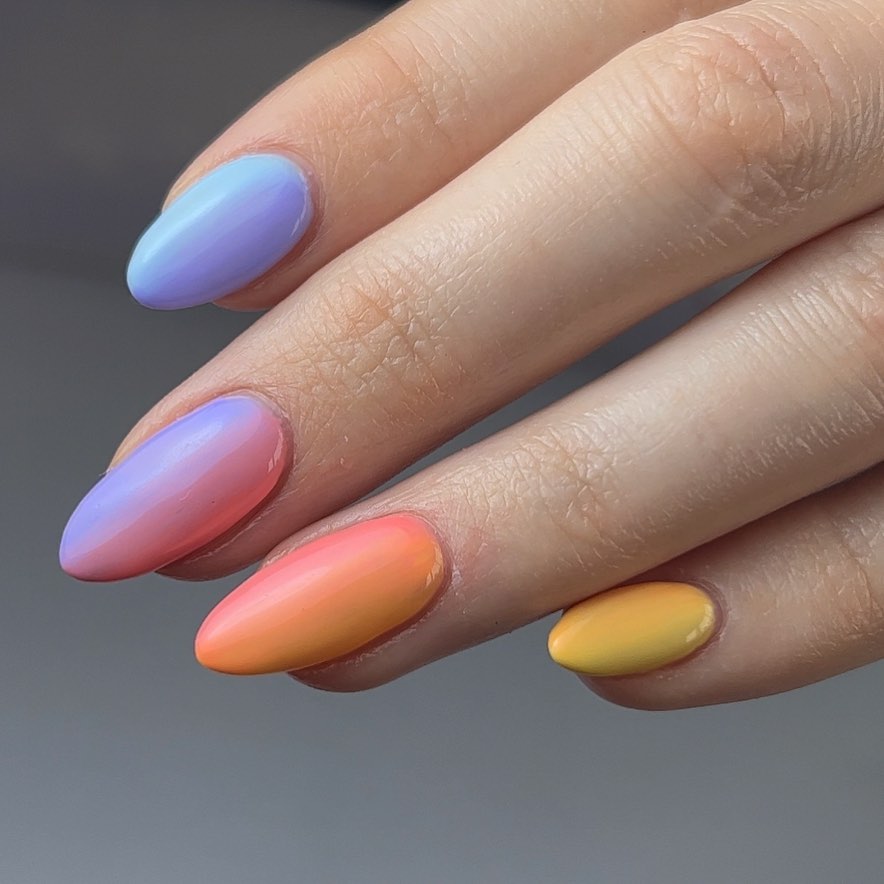
Pastel Summer Ombre Nails
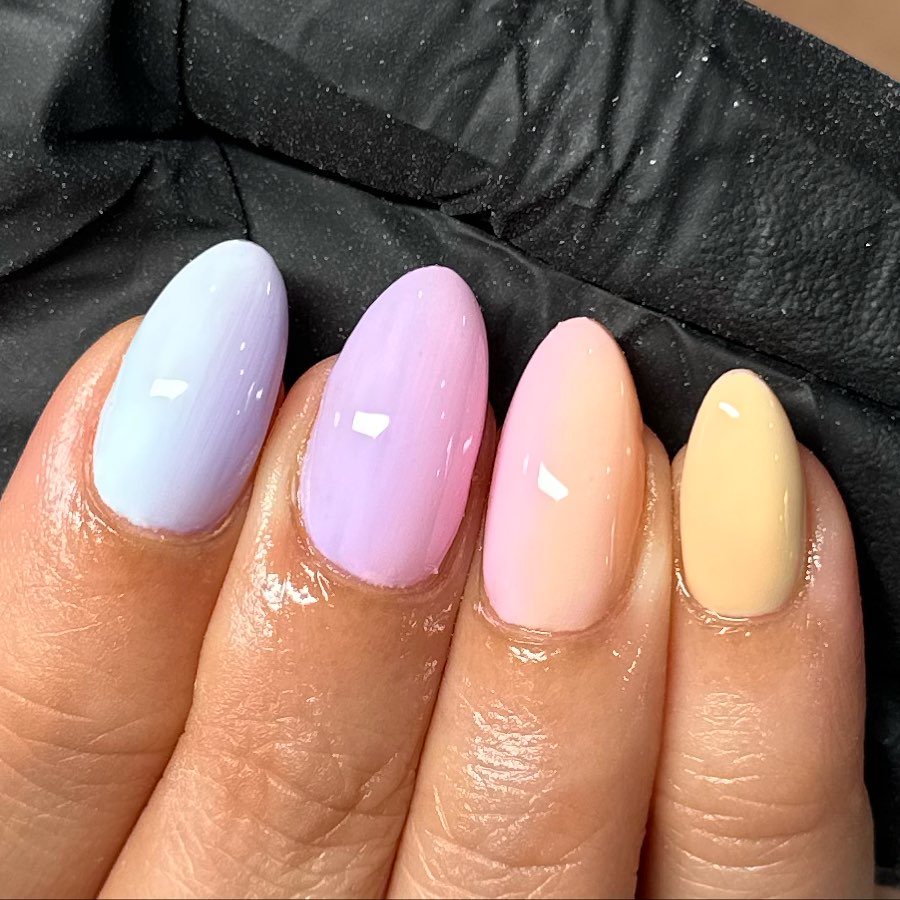
Pastel shades of pink, yellow and blue are very popular for summer ombre nails. Light colors are perfect for the hot weather because they help you to feel fresh and relaxed, and these soft almond-shaped acrylics showcase delicate colors perfectly.
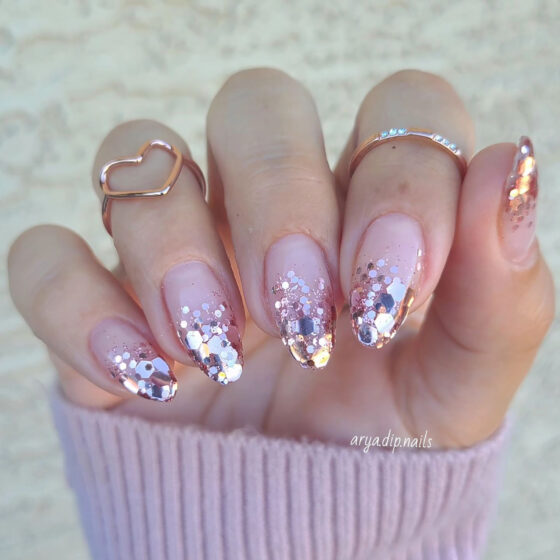
Summer Glitter Ombre Nails
Summer glitter ombre nails are a fun way to show off your summer nail art. In these nails, you see how a pop of solid color contrasts beautifully with a glitter ombre effect.
To get this summer glitter ombre nails look at home:
- Paint a clear base coat to prepare all of your nails. Let it dry.
- Choose which nails you would like to paint with your solid color polish. This mani features different solid nails on each hand for increased variation. Paint each nail, and let them dry between coats. A neon color like this may take 2-3 coats to become opaque.
- Once your solid color nails are dry, carefully paint down from the tip of your finger towards the middle of your nail, but stop short of going to your cuticle. Apply more polish near the tip of your nail, with less as you work toward the middle.
- Take a small, dense round nail art brush and tap the edges of the polish, blending out towards your cuticle. This creates a glitter ombre overspray look. Repeat on each remaining nail.
- Seal your hard work by applying a clear top coat to the glitter nails and a matte top coat to your solid-colored nails, and then let dry.
Summer Ombre Stiletto Nails

Do you want nails that say, “I’d rather be on the beach”? Then these nails are for you! With a sunset, palm trees, and neon greens – all that’s missing is a margarita and some sandals! We love that this design is featured on stiletto nails.
Stiletto nails are a trendy nail style that’s sure to make your mani pop. If you’re not familiar with stiletto nails, they’re super-long and pointy at the tips. They can be natural or acrylic and can come in several different lengths from short to long.
Summer Ombre Gel Nails

Gel nails are a great option for summer. Because they’re made of compounds that don’t dry but stick to nails when exposed to UV light, gels are more durable than acrylics and last about two weeks on average. This makes them much easier to maintain than other artificial nails and makes it easy to keep your manicures looking fresh all season long.
Summer Ombre Nails Short

You can show off your summer ombre nails with stylish short nails like these. Short nails are easier to maintain than long nails, and they’re less likely to break if you accidentally bang them on something while doing errands or cleaning around the house, and they make things like playing summer sports just a little easier.
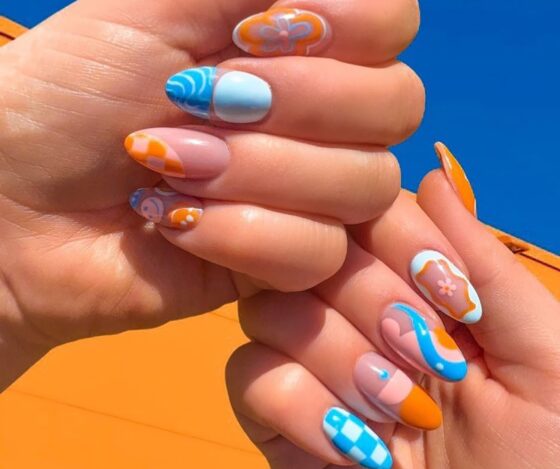
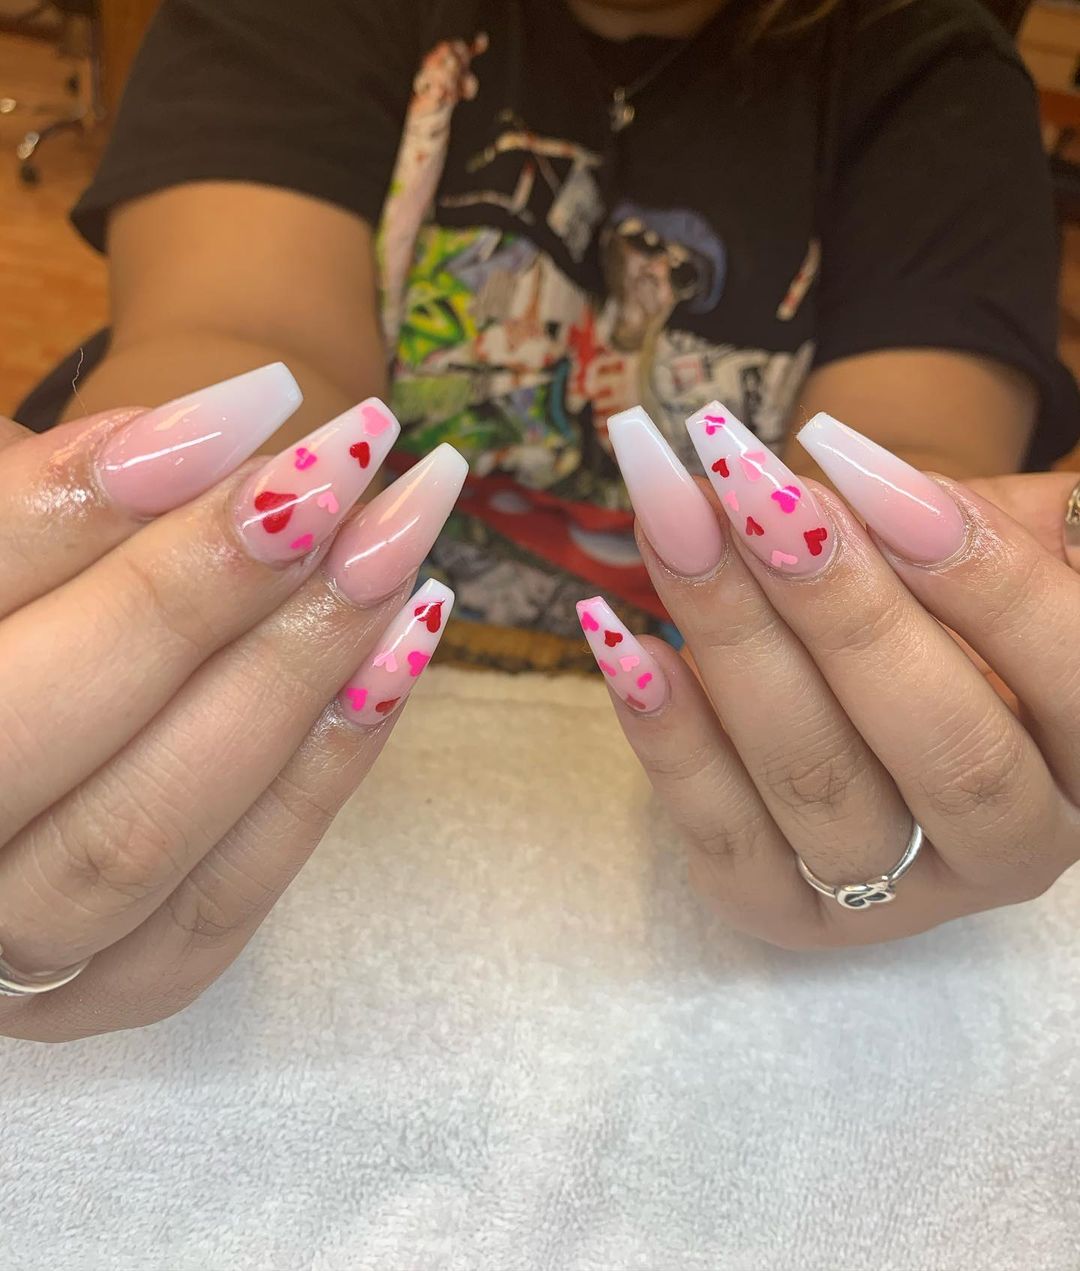
Summer Ombre Nails With Flowers

If you like flowers, then adding a flower design to simple summer ombre nails like these is an excellent option. You can add a flower on either every nail or just one or two of them – the choice is yours!
How to create a simple flower design for your ombre nails summer look, step-by-step:
- For this design, you’ll need a base color (or a transparent clear coat like in the inspo image) and two different shades of pastel nail polish. You’ll also need a toothpick and a rounded metal dotter tool for this project.
- Paint your nails in the base shade. Let it fully dry.
- Choose which nail you’re going to apply the designs to. In the inspo image, only the ring finger has a design on it. Drop some of each colored polish on a bit of plastic wrap or tinfoil to use as a palette.
- Use the dotting tool to make six petals, aka dots, of the same color arranged in a circle. Drag the dots of color toward the middle of the flower design with a toothpick to make a daisy design like the example.
- Then, add a different-colored dot at its center to finish the flower design.
- Top with a clear coat and let it dry, and voila! You’ve got summer ombre nails with flowers.
Cute Summer Ombre Nails

Cute ombre summer nails can come in all shapes and sizes. From simple designs to pretty pastel colors, and delicate ombre gradients, there are cute summer ombre nails for everyone – the sky is the limit when it comes to this versatile nail style. The key to cute summer nails is finding a design that complements your personality.
Cute Sunset Summer Ombre Nails

Summer is the perfect time for bright and bold nail art. If you want to show off your nails this summer, try out these sunset ombre nails!
The sunset ombre manicure is a great way to add a pop of color to your wardrobe. These nails are perfect for the warm weather months because they’re so bright and cheerful.
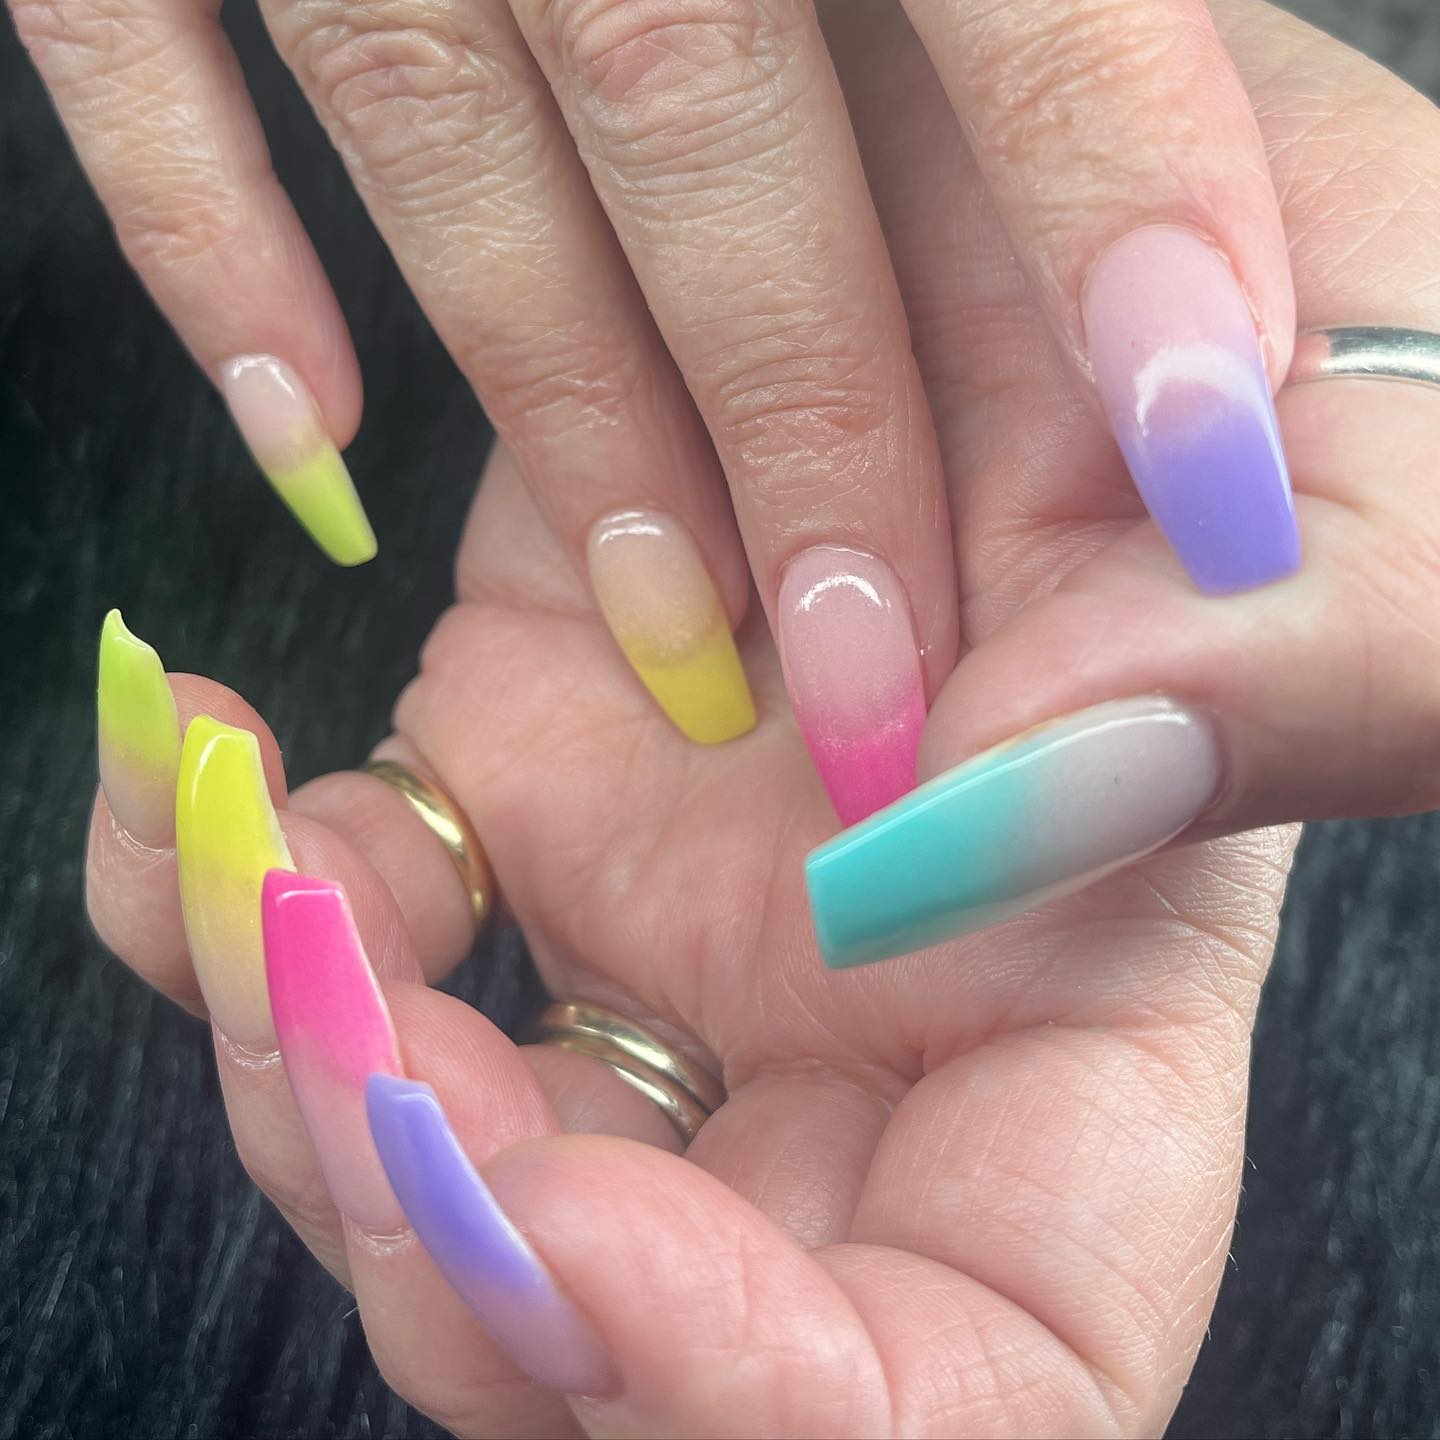
Cute Rainbow Summer Ombre Nails

We love this manicure! It’s feminine and girly and looks like the perfect summer nail look. The rainbow colors are so vibrant, and the glitter makes them look even more gorgeous – plus, it’s also very easy to do yourself at home.
Cute Transparent Summer Ombre Nails

The summer season is here! And what better way to celebrate the arrival of the warm weather and longer days than with a fun and flirty mani? This one offers a combo of subdued nude and baby blue ombre nails as well as flakey, reflective, suspended glitters in transparent acrylic nails. This strikes a fun balance between muted and fun – perfect for summer!
Summer Ombre Matte Nails

If you’re not into the shiny look, there are plenty of other ways to make your manicures stand out this summer! The matte nail trend is still going strong – why wouldn’t it? Matte nails add depth and dimension, and we like this pastel version with pink and baby blue. They’re the perfect way to express your personality.
Summer Ombre Shellac Nails

Why choose one color for your mani when you can have them all? This summer ombre shellac nails look is perfect for sunny, warm days, and with shellac on your digits, you will have a long-lasting, chip-free mani for weeks to come.
New to shellac? Shellac is a nail polish that was developed and patented by the brand Creative Nail Design. It’s a combination of half-gel and half-regular polish.
Check out some of the pros and cons of summer ombre shellac nails.
| Shellac Pros | Shellac Cons |
|
|
Zohna Tip
Going to the salon and going under the UV light? Put some SPF on your hands before you go to protect them from those harmful rays.
Summer Ombre Nails Colors

When it comes to summer ombre nails colors, there are plenty of options.
Top ombre nails summer colors include:
- Blue
- Pink
- Orange
- Yellow
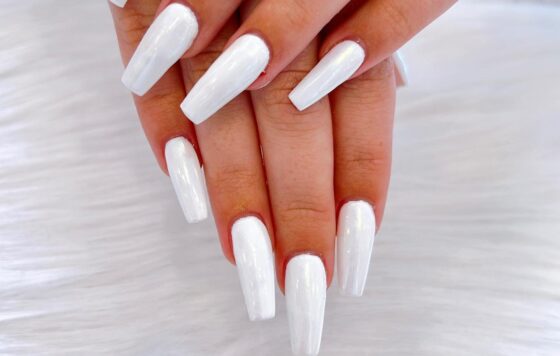
- White
Blue Summer Ombre Nails

Blue ombre nails are a beautiful and unique way to show off your manicure. The white and blue ombre designs look like clouds, which makes this nail design perfect for summer.
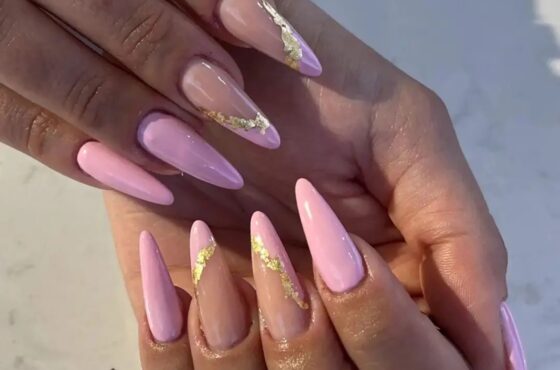
Pink Summer Ombre Nails

Matte pink ombre nails are a great way to get an eye-catching manicure without the shine. This soft color is perfect for anyone who wants a simple manicure that isn’t too bold but still has a pop of color.
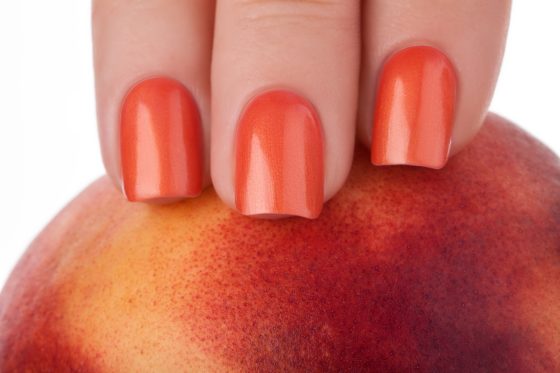
Orange Summer Ombre Nails

Orange is a popular color this season, and this summery nail art design is the perfect way to show off your love of the citrus hue. The single nail with a marbled, swirling color is the perfect subtle accent to the other ombre nails.
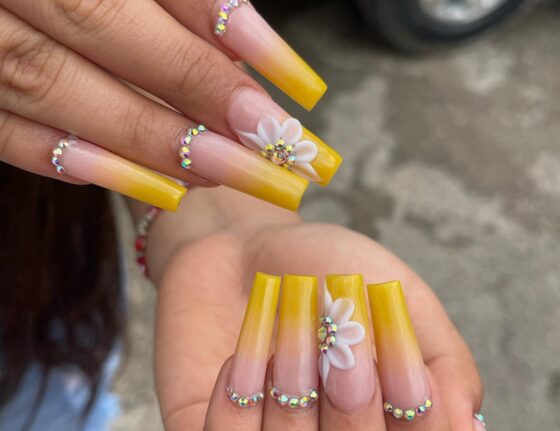
Yellow Summer Ombre Nails

Yellow is the color of sunshine, sunflowers, and daffodils. It’s a happy color that makes you feel good. Yellow summer nails ombre like these are perfect for summer, and the 3D flower details are feminine and pretty.
Turn Up the Heat with Summer Ombre Nails
If you love a good ombre look like we do, then these ombre-inspired nail designs are perfect for your summer style. Here’s to finding the perfect nail design to complement your favorite swimsuit, sunglasses, and ponytail this summer!